
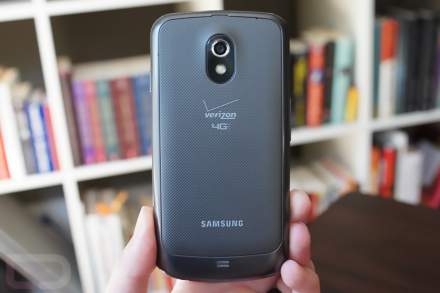
If you follow us on Twitter (why aren’t you?), then you probably saw the surgical procedure that went down last night between me and my Galaxy Nexus. You see, since Samsung and Google decided to release a grey or metallic version initially and then a white version months later, I wasn’t interested in purchasing a brand new Nexus, just to get the white color scheme. So as white housings for the device started popping up on random German eBay stores, I jumped on one to see if I could perform the switcheroo myself. After picking up a set of cheap tools from iFixit a month or so prior in preparation for this day, and the housing arriving yesterday afternoon, it was game time.
Was it difficult? Again, if you saw on Twitter, it took me all of 13 minutes. I spent roughly $40 on tools (but you may not need to buy any, I just wanted fancy ones), another $70 for the housing and back, and in under 15 minutes, I had a brand spanking new white Galaxy Nexus. Quite a bit cheaper than paying $450-$650 for a new one, right?
So how did I do it? Jump past the break to find out.
*Note – This was performed on the GSM Galaxy Nexus, with genuine GSM parts. The LTE Galaxy Nexus replacement parts are extremely hard to find since the white version of that phone is not out yet. However, this procedure will work exactly the same on the LTE version once we have those parts. DO NOT TRY TO USE GSM PARTS ON THE LTE VERSION OF THE PHONE. They will not fit and you will be out $70.
Tools required:
1. A white Galaxy Nexus housing and battery cover.
2. Screwdriver (Phillips) – small as you have.
3. Skinny guitar picks, 3-4 of them.
Instructions:
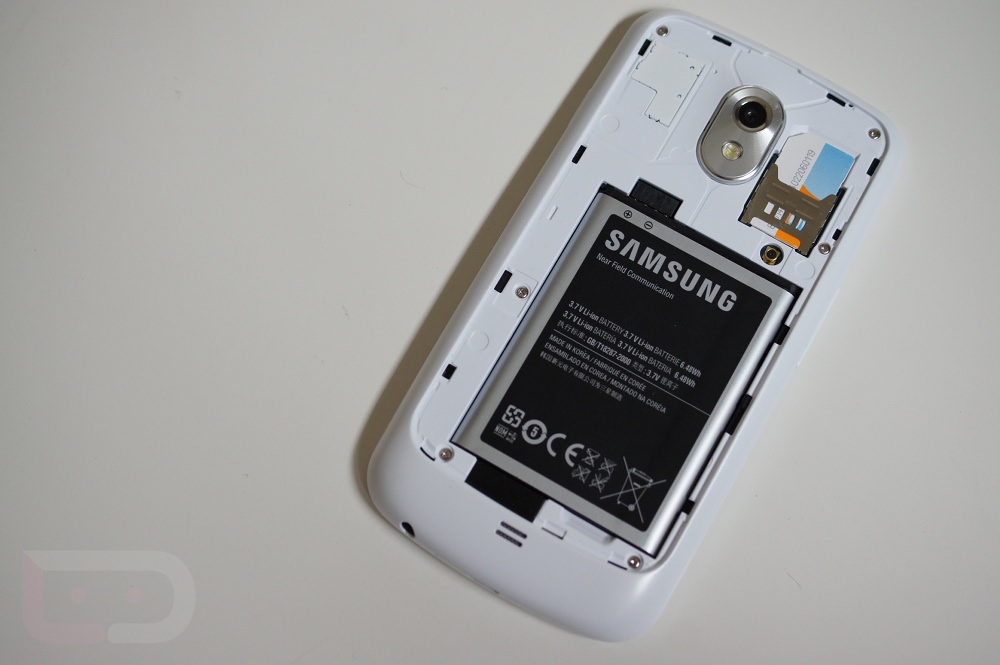
1. Remove the back battery cover, battery and SIM card from your phone.
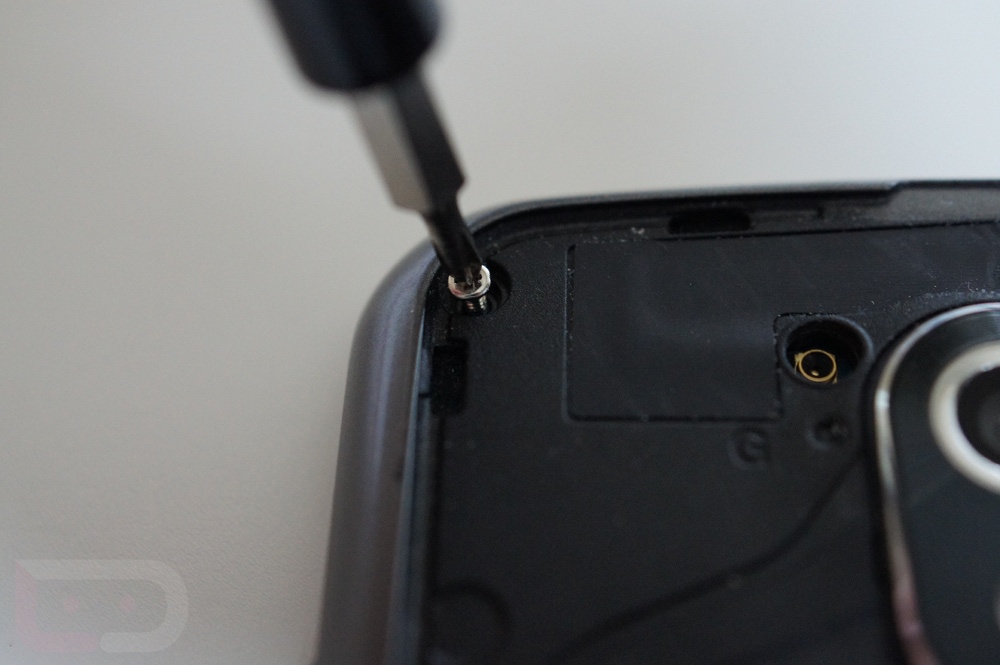
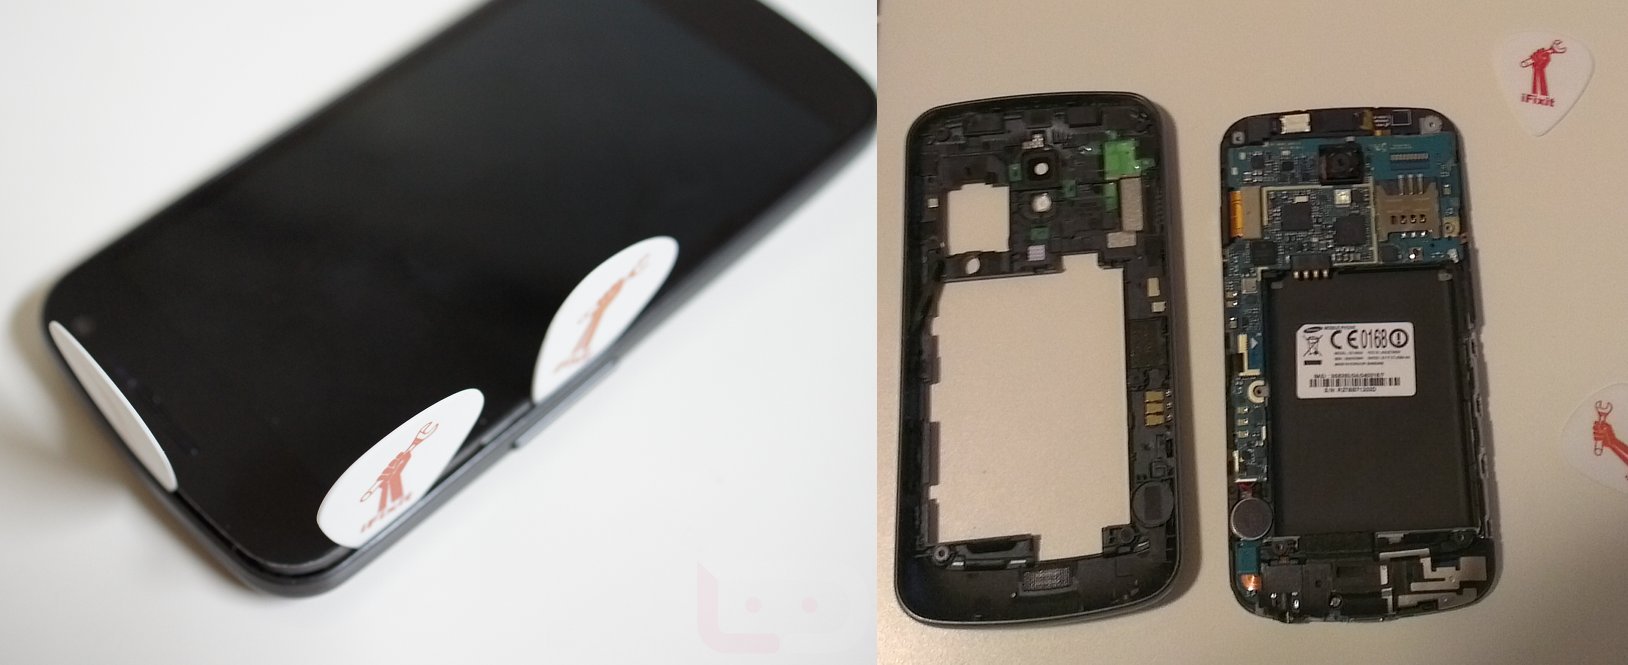
2. With screwdriver in hand, remove 6 mini screws on the back of the phone and set aside.
3. Using guitar picks, slide one under the top part of the phone between the screen and housing.
4. Using additional picks, slowly work around the entire edge of the phone until the housing pops off.
5. Once off, grab your white housing and remove the sticker over the backside of the camera.
*You may also have to remove a sticker from the 3-pin connector. Make sure to leave the same stickers on the new housing that are still on your original housing.
6. Then, starting with the top, apply the new white housing to your phone.
7. Snap the entire thing into place with a bit of pressure.
8. Screw 6 screws into new housing, insert battery and SIM card, and boot. Enjoy!
Video instructions:
*If those written ones weren’t detailed enough, one of our readers put together this fantastic video.
[youtube]http://www.youtube.com/watch?v=kp6e5w2jkk4[/youtube]
Cheers Dan!
![Cheat Sheet: US Wireless Carrier 4G and 5G Bands for Unlocked Phones [2024]](https://www.droid-life.com/wp-content/uploads/2015/02/verizon-att-logos-3-440x293.jpg)
![Cheat Sheet: US Wireless Carrier 4G and 5G Bands for Unlocked Phones [2024]](https://www.droid-life.com/wp-content/uploads/2015/02/verizon-att-logos-3-320x213.jpg)

