This week, I took to the task of hooking up Google WiFi throughout my home. It’s quite possible that someone reading this is also going through the same process, or is possibly thinking about trying out Google’s mesh network hardware. With this post, I’ll go over the basics of setting up Google WiFi, then provide my initial thoughts.
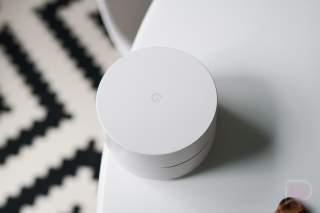
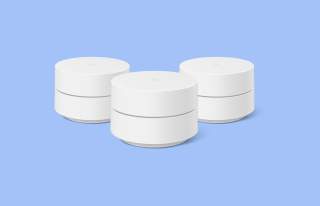
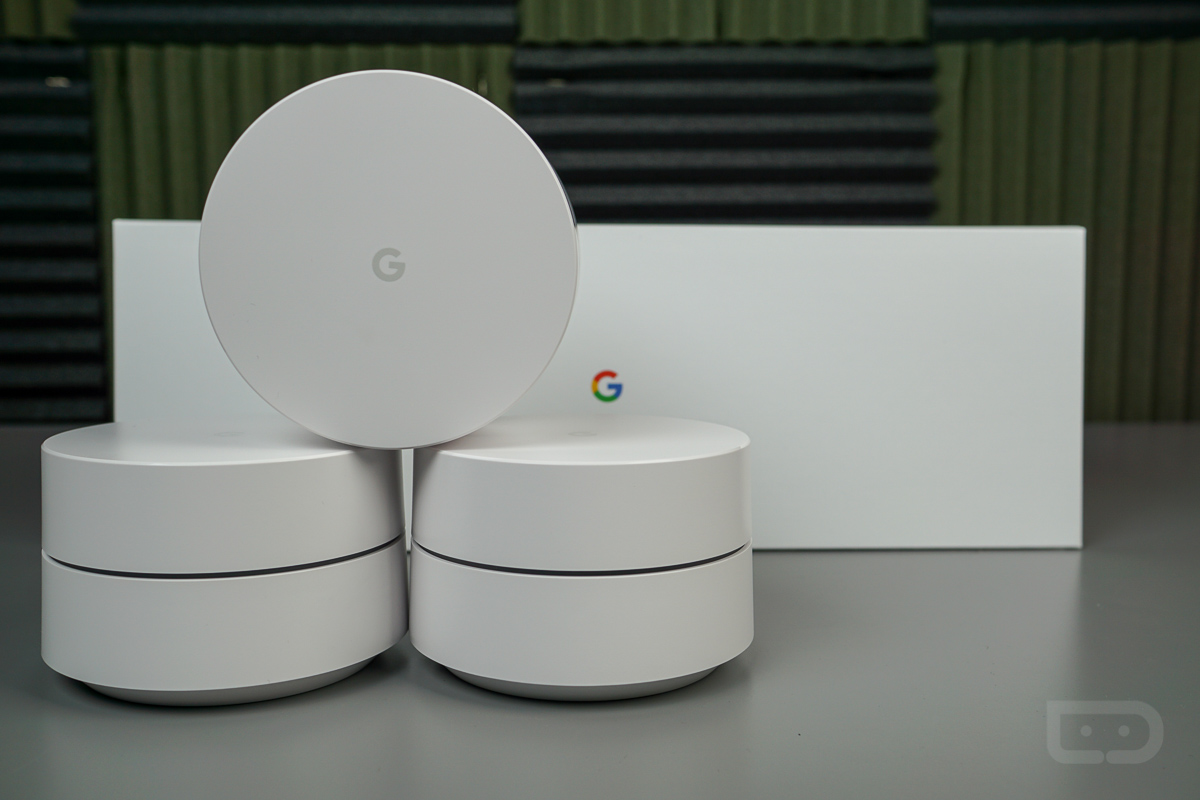
To provide a basic overview of what Google WiFi is, something we have done previously on multiple occasions, here’s the rundown. Google WiFi is a “mesh” router system that helps blanket your entire house with WiFi. Instead of having a single wireless router in your office or kitchen that can’t stretch to your upstairs or wherever in your home, a system like this allows you to reach all the nooks and crannies with WiFi signal. It’s essentially modular in that you can add on more Google WiFi units as needed, depending on the size of your home.
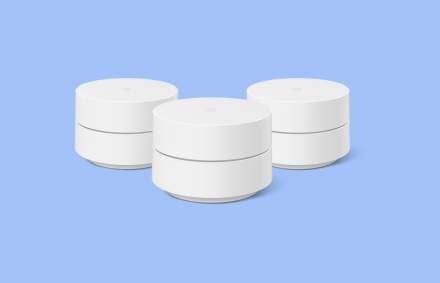
As detailed by Google, one WiFi point is capable of blanketing an area of 500 to 1500 square feet, while a 3-pack of units can span across an area of 3,000 to 4,500 square feet. How many you choose to use is entirely up to you, though.
Now that that’s out of the way, let’s get to hooking up Google WiFi.
Attack Plan
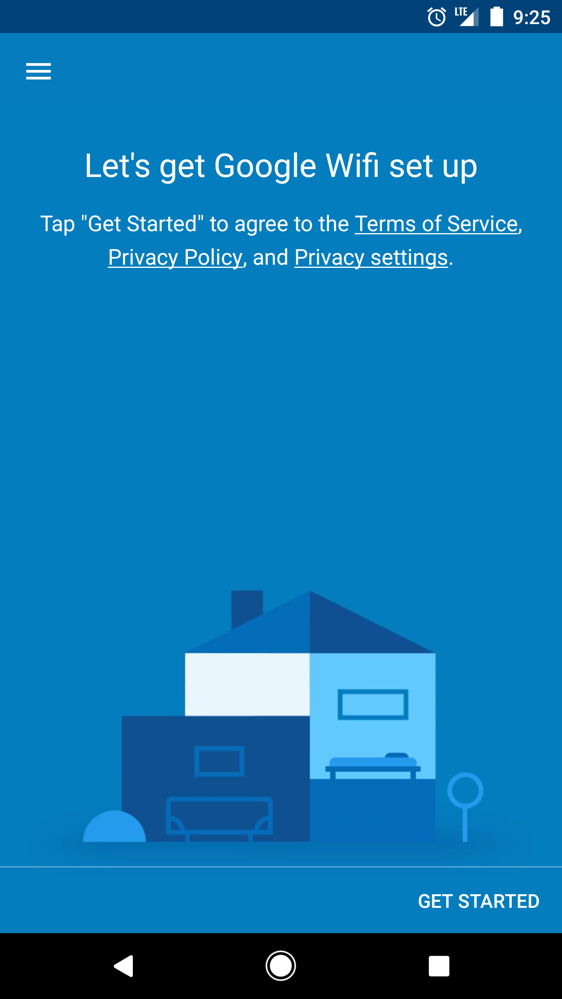
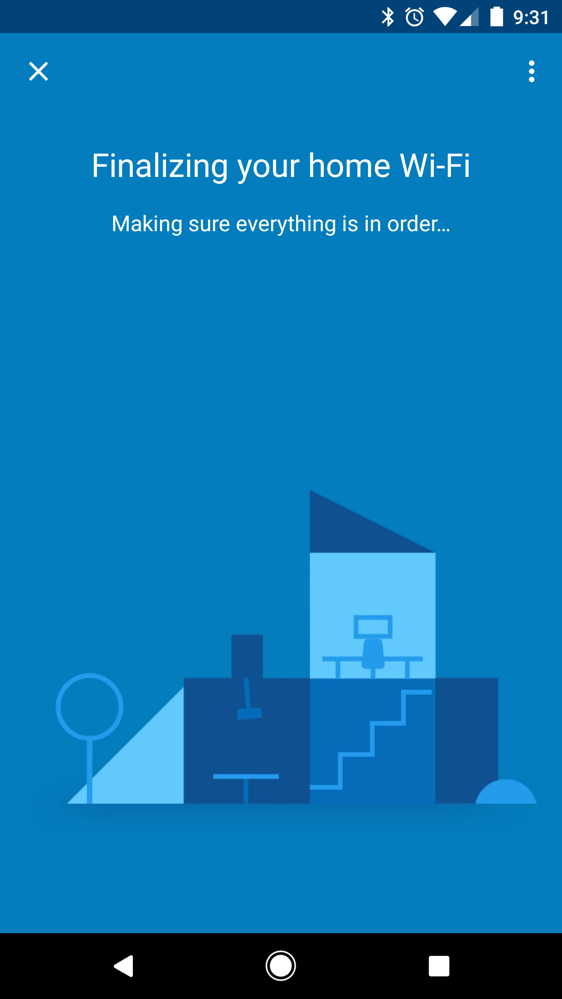
Being like most other dudes, instruction manuals are my worst enemy. I mean, how hard can something possibly be, right? Well, allow me to spare you any potential frustration and boredom and just tell you that reading the instructions is a good idea when setting up your new WiFi network. Not only is it a good idea, but given that this is Google, it’s incredibly simple and nearly automatic with the user needing only to plug in a couple power cables and pressing the “Next” button a few times during start-up. Seriously, setting up Google WiFi is extremely painless, so reading the instructions will at least give you something to do during the process.
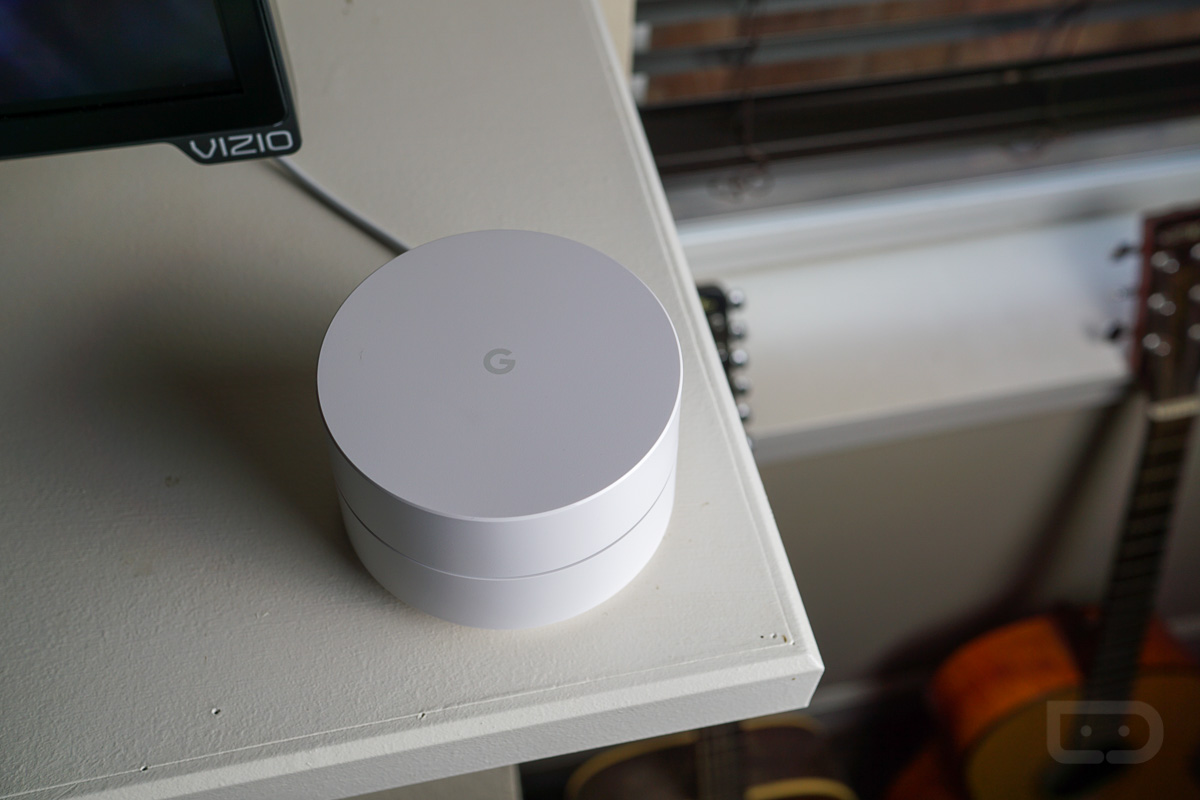
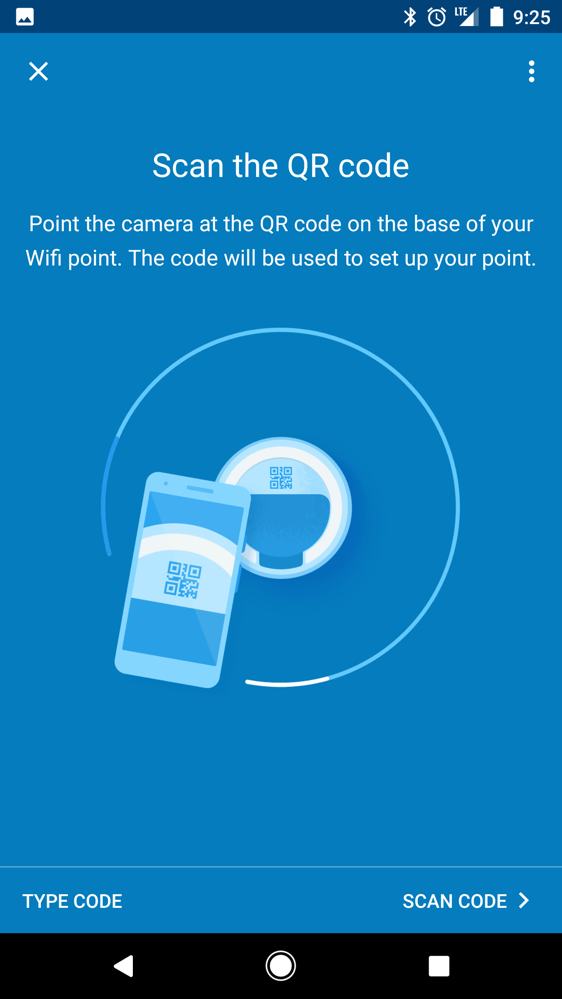
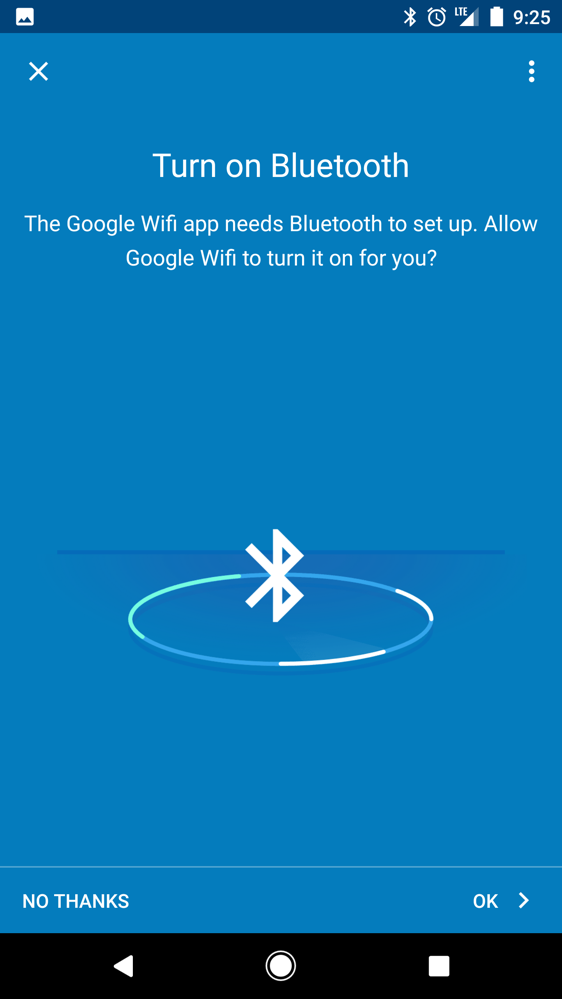
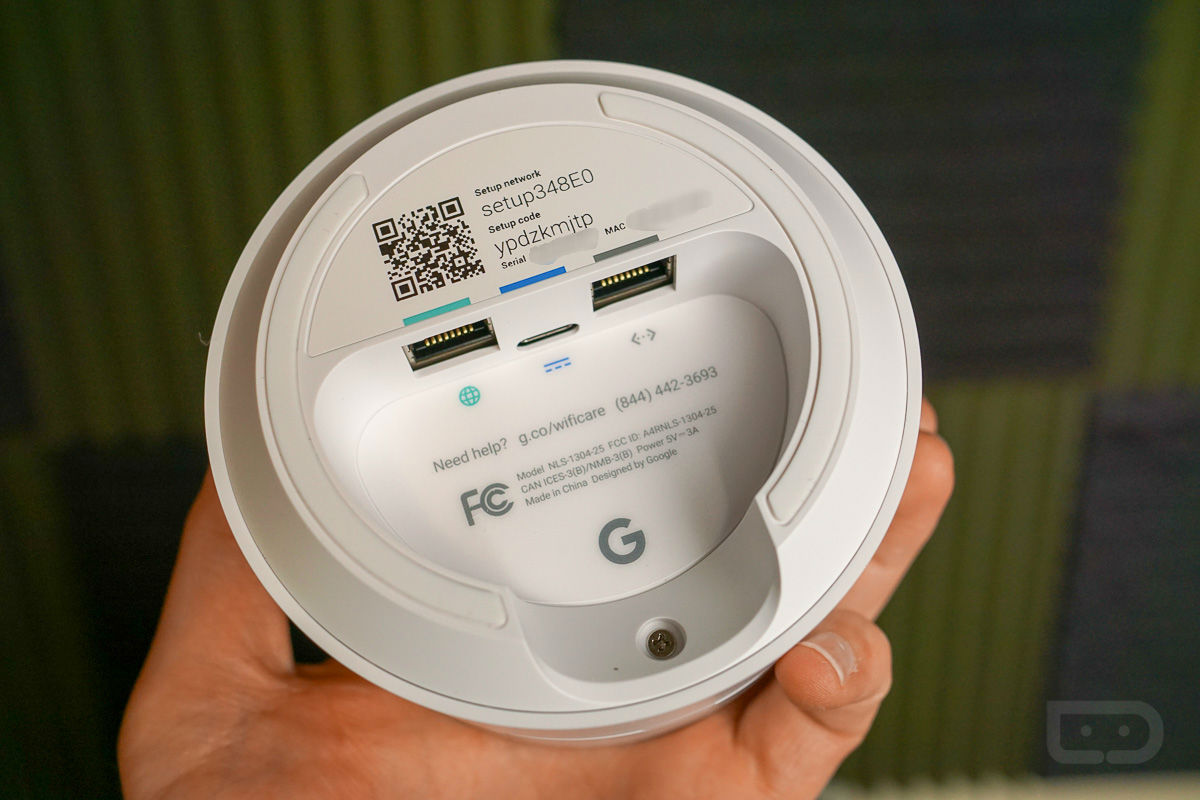
To begin, you hook-up your first Google WiFi router (aka WiFi point) directly to your modem with a provided Cat 5e (Category 5) cable. Then, plug in the WiFi point to wall power. From here, open up the Google WiFi application that you download from Google Play. The first part of setting up Google WiFi is connecting your first WiFi point to your smartphone via Bluetooth. Making this step a breeze is a QR code on the backside of each WiFi point. During setup, the Google WiFi app will open up the camera via an API and you will snap a shot of that QR code. The connection is then made automatically.
Once you have your phone and first WiFi point talking to each other, the real fun begins.
With the first WiFi point powered on and connected to the Internet thanks to a successful link with your modem, you can begin naming your network and establishing a password.
IMPORTANT – For anyone not wanting to completely rename an existing WiFi network and reconnecting each device you have in a home to a new network with updated password, simply give the new Google WiFi network the same exact name and password as the previous network.
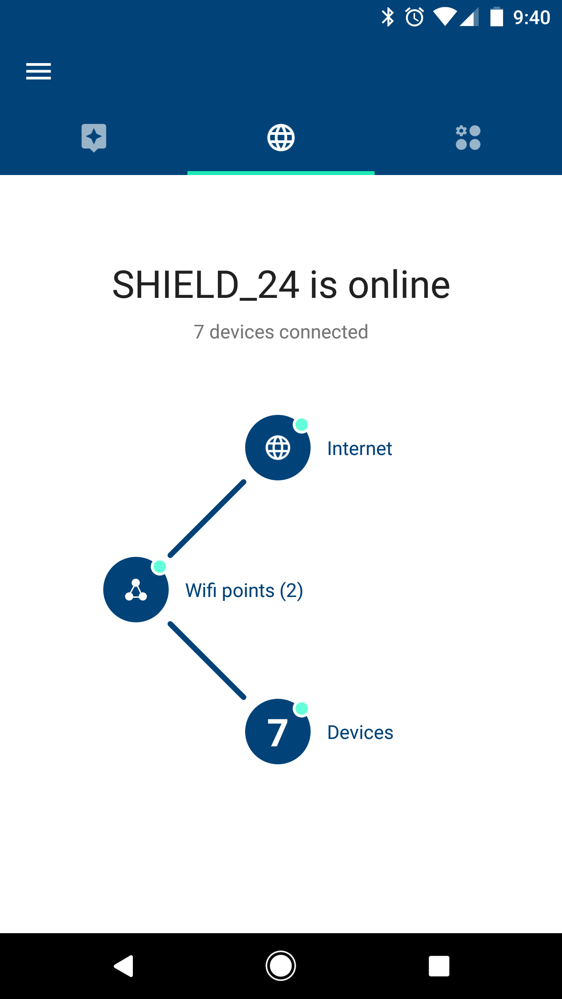
For example, my previous network was called SHIELD_24. In setup, I gave the same name, SHIELD_24, and then set the same password. At time of completion, I witnessed all of my devices automatically connect to the new Google WiFi network (Google Home, SHIELD TV, Ecobee, smartphone, Xbox, etc), saving me a ton of trouble. Of course, you can choose a new name and password anytime you want, but again, that comes with more work. On top of that, with my previous ASUS router, I elected to choose if a device was connecting to a 2.4GHz or 5GHz band myself. With Google WiFi, it selects all of that for me based on what’s best, so no longer do I see two options (one for 2.4GHz, one for 5GHz) under all of my devices’ WiFi settings. For me, this really makes Google WiFi a nice little investment.
Setup of Additional WiFi Points
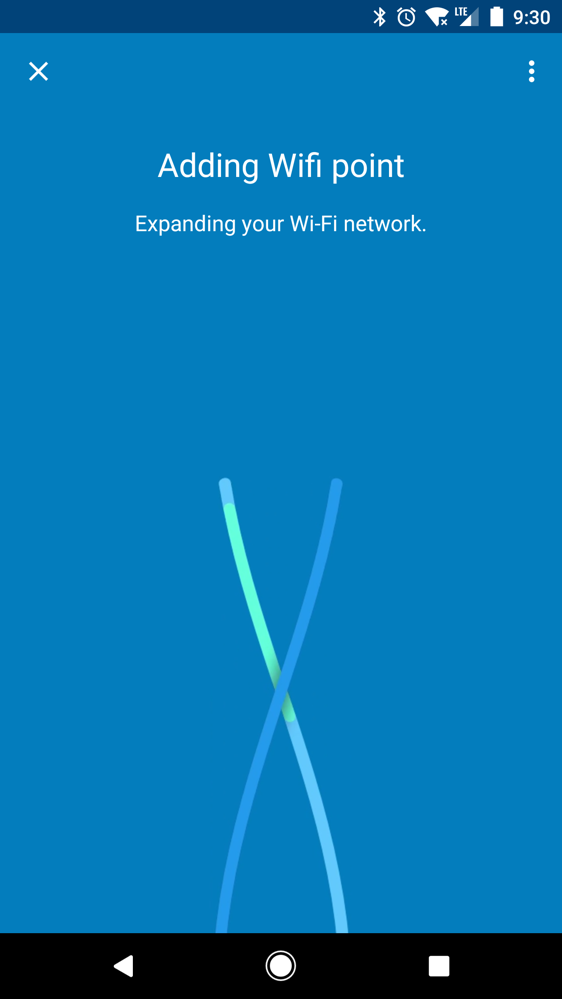
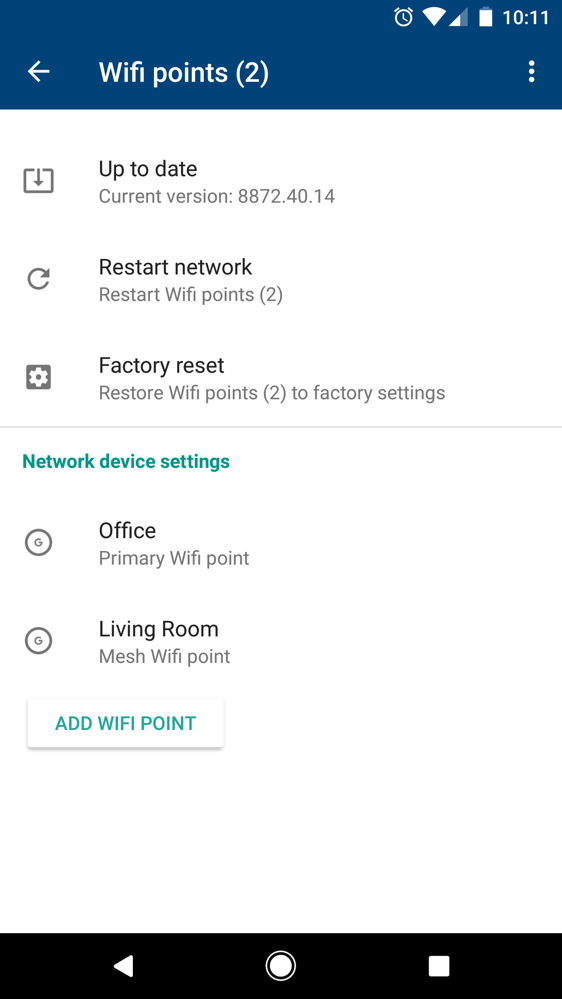
Once your first WiFi point is good to go, it’s time to connect any additional points you need. For my home that has two floors (downstairs and upstairs), I’m only using two points, since I don’t feel the need to run the entire 3-pack. If your home is larger, hookup as many as you see fit.
Just like the first WiFi point, setup of additional points is a breeze. Simply plug in the additional point to a wall outlet where you want it with the provided cable, then the Google WiFi app handles the rest. In the app, you will see it say, “Expanding your WiFi network.” Once it completes, the app will tell you to either start the same process on any additional WiFi points, or will ask to begin its software updating process. Provided I only added one new WiFi point, I was ready to finish the installation and setup process.
Completion and Network Management
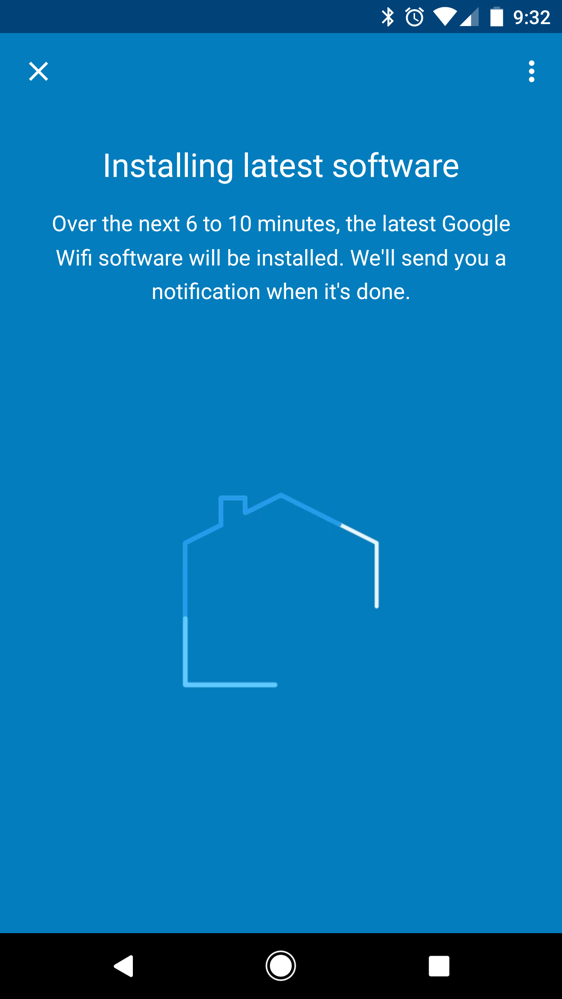
After all of your hookup and setup is complete, the Google WiFi app prompts you that it will begin downloading the latest software from Google for the hardware. For me, the process took about 7 minutes including network reboot and that will vary depending on how fast your Internet is.
Once the update is completed, you’re given a virtual tour of your network in the Google WiFi application.
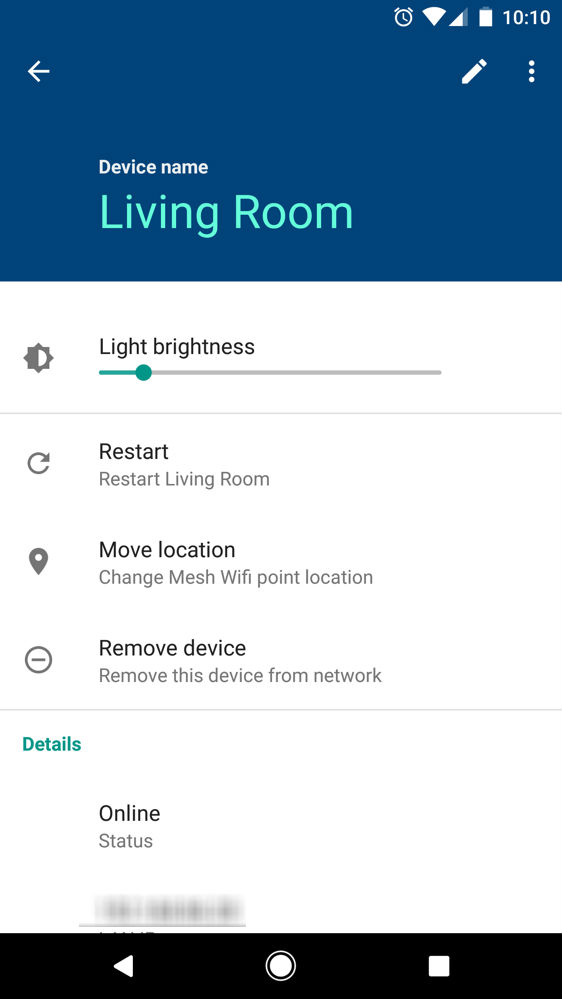
With the Google WiFi app on your phone, all of the network’s settings can be managed, making the setup of a Guest network or troubleshooting an issue with a WiFi point very straightforward. Beyond that, brightness control of each WiFi point can be controlled, as well as Advanced Settings, such as Port forwarding, Network Mode, DHCP IP reservations, and more.
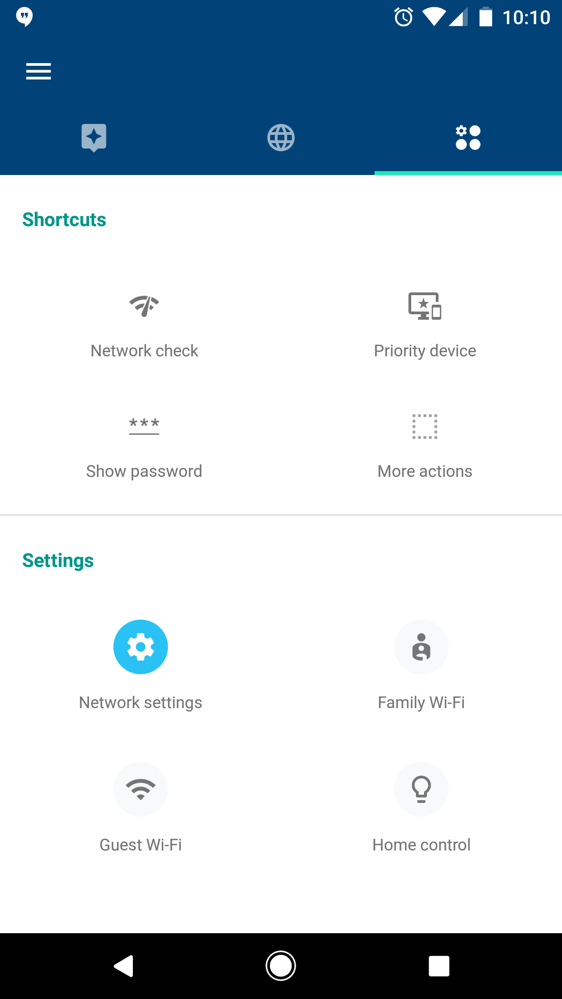
Another setting built into Google WiFi is the ability to pause the network. Not only can you pause it for all devices, but maybe more importantly, you can pause it for specific devices or even a group of devices. Say you have kiddies that enjoy staying up past their bedtime and are constantly on Snapchat or Instagram, you can pause the network just for their devices at bedtime, putting a stop to the midnight madness. While the network is down for them on their devices, mommy and daddy’s WiFi is just fine for a little bit of Netflix and Chill.
In case of a network issue, the Google WiFi app will also alert you via a notification, as well as provide basic troubleshooting tips. Typically, a network reboot may solve any problems, but it’s a nice touch to have the hardware monitoring itself instead of having to master the light codes on older routers.
Initial Thoughts
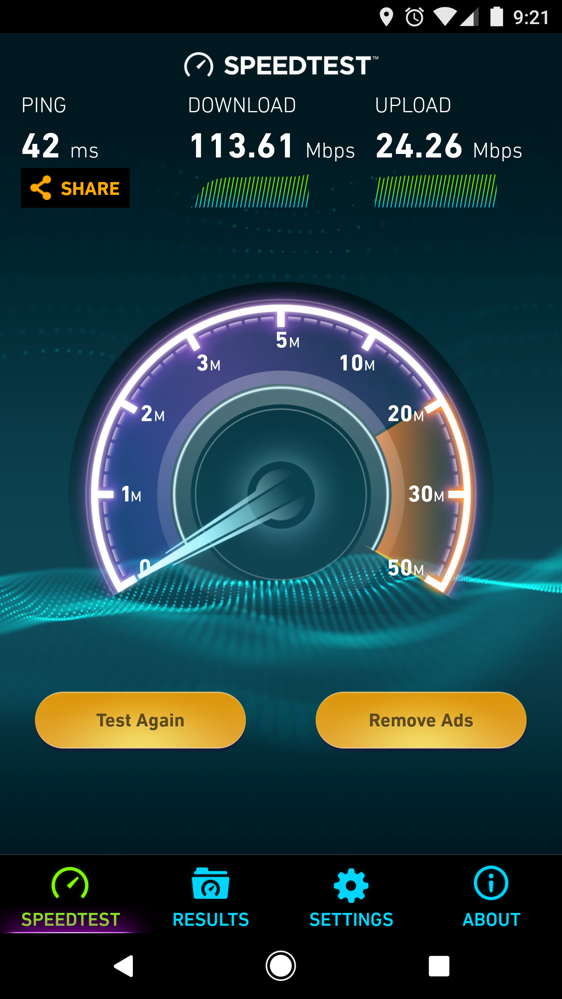
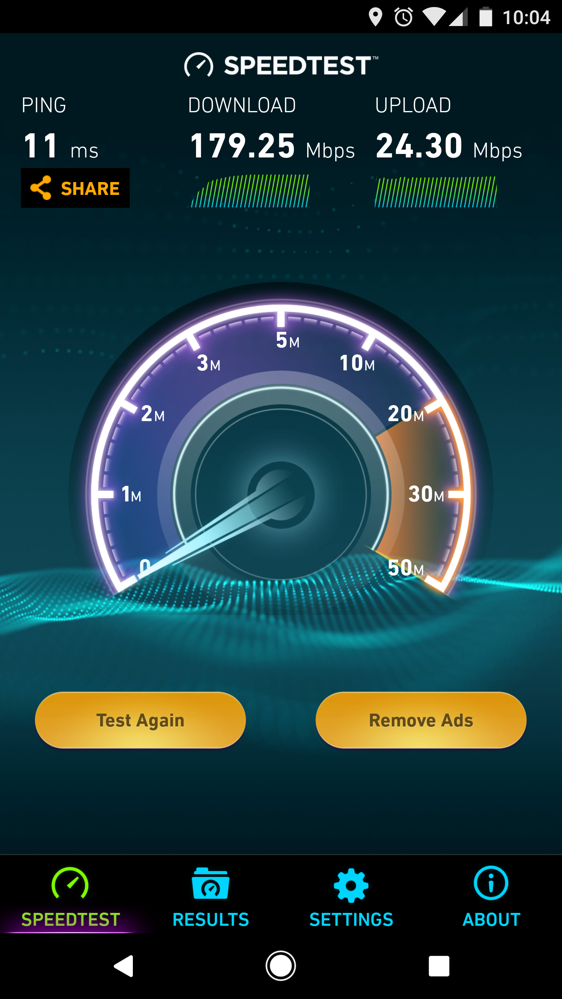
I have had Google WiFi setup for a couple of days, and so far, everything has been great. I’ve been noticing better speeds throughout my house, which was really the main idea behind upgrading to a mesh network in the first place.
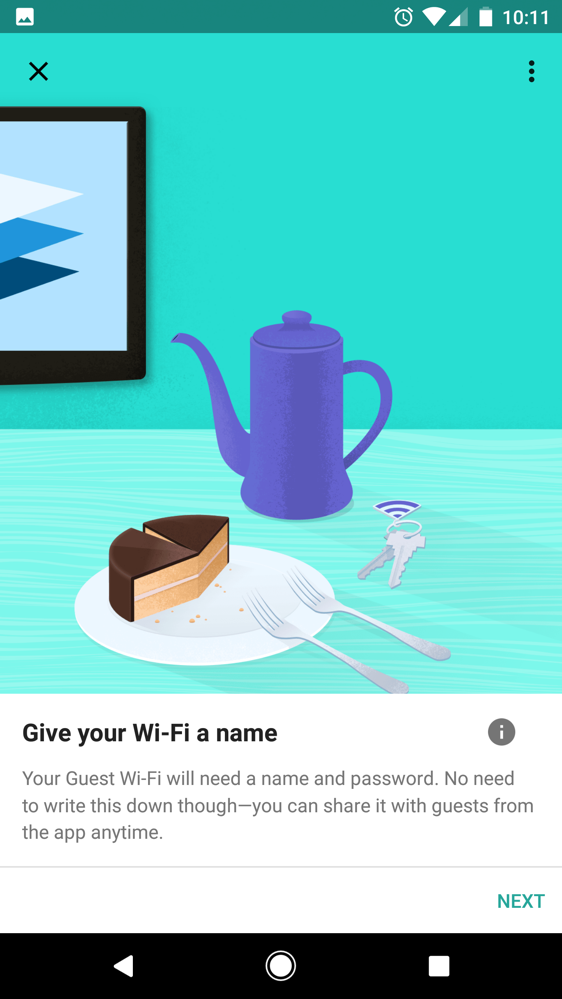
As for features I’ve been using personally, I have really enjoyed the ability to troll my friends with the Guest WiFi. Since you can name it to whatever you’d like and also set a unique password, I can name it something funny and ridiculous, always leading to an easy laugh. Beyond that, I don’t have children, so pausing the network hasn’t been used, and I also haven’t had any weird outages or hiccups in ISP service. Once and if something such as that happens, like a problem on Comcast’s end, then I can come back and share any important details on how it possibly affected Google WiFi.
So far so good, though.
Before Google WiFi vs. After Google WiFi
One downside I’ve ran into, though, are the lack of ethernet ports on the WiFi points themselves — there’s a single ethernet port on each point, even the main point that plugs into your modem. While my WiFi network is plenty fast to handle what I need typically, I personally enjoy having two specific devices physically hooked into my network: Desktop computer and Xbox One. When gaming or uploading a video review to YouTube, I don’t want some WiFi issue to cause a problem. Now, so far, I haven’t had any problems, but it’s something that sits in my head nagging at me.
While I could simply hardwire the devices individually when I am using them, switching the Cat5 from desktop to Xbox and back whenever, that was never something I needed to do with my previous router since there was four ports. So, if you find yourself hardwiring multiple things in your office or living room, going down to a single port may be tricky for some.
Overall, the setup and impression of Google WiFi is nothing but positive. The fact that it’s so easy to hook up and just works really allows me to recommend it as a good entry option for anyone interested in the mesh network concept. Now, I’m not saying it’s the best option, but it is a great one at the price. For $299, you are getting a 3-pack of WiFi points, which is cheap when compared to setups like Eero and Orbi.
If you have a specific question regarding Google WiFi or want to share your experience, share it down in the comments.