With white Nexus 4 in hand and a quick hands-on video and comparison published, there was only one last task for us to complete to round out our coverage – back replacement surgery. You may recall our guide on how to turn the black Galaxy Nexus into a white Galaxy Nexus, and well, we decided to do the same thing with the Nexus 4. Since the white Nexus 4 is nothing more than a black Nexus 4 with a white back piece, we knew long ago when the white version first leaked that swapping out back pieces would be simple. We were right.
In the short guide below, we’ll walk you through the six steps to turning your black Nexus 4 into a white Nexus 4. Since many of you jumped on the black Nexus 4 early on and didn’t have a chance to even consider the white version, this should help you make the transition once (if) white replacement backs ever go up for sale.
Parts:
You obviously will need a black Nexus 4. You will also need either a white Nexus 4 or a back replacement white part (which haven’t been released yet). The replacement white back would be the much cheaper route to go, but we have no idea if or when those may be released to the public.
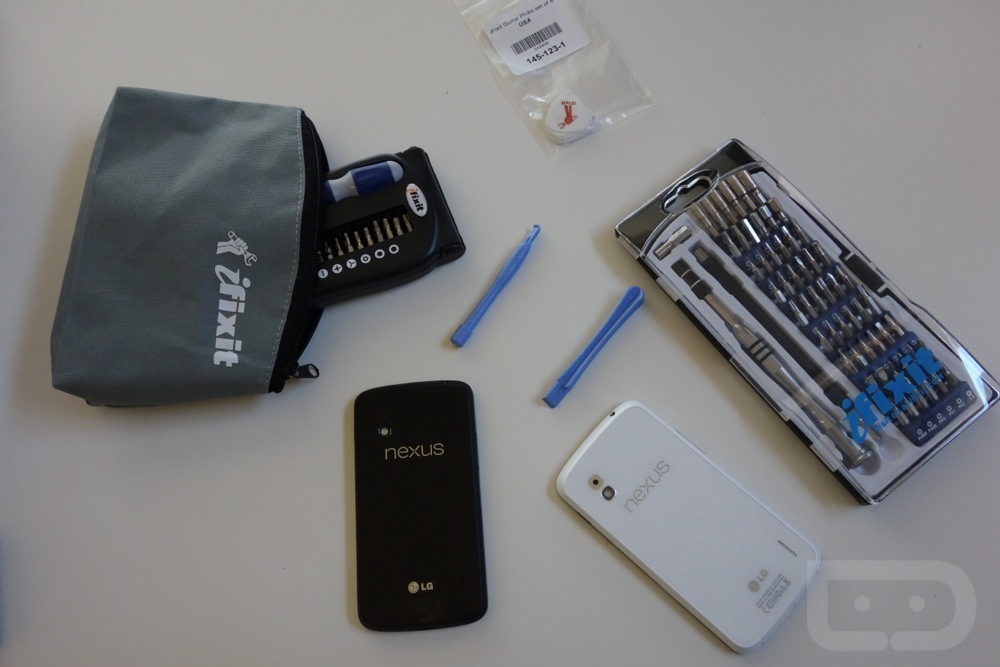
Tools:
This entire process was done with a T5 Torx screwdriver, two guitar picks, and a plastic opening tool. But actually, you could do this without the plastic opening tool and remove the entire back cover with the guitar picks alone, after removing the screws of course. A good smartphone starter toolkit to think about picking up is the Home Tech Toolkit from iFixit. I would also recommend picking up some of their guitar picks if you don’t have any laying around your house.

Instructions:
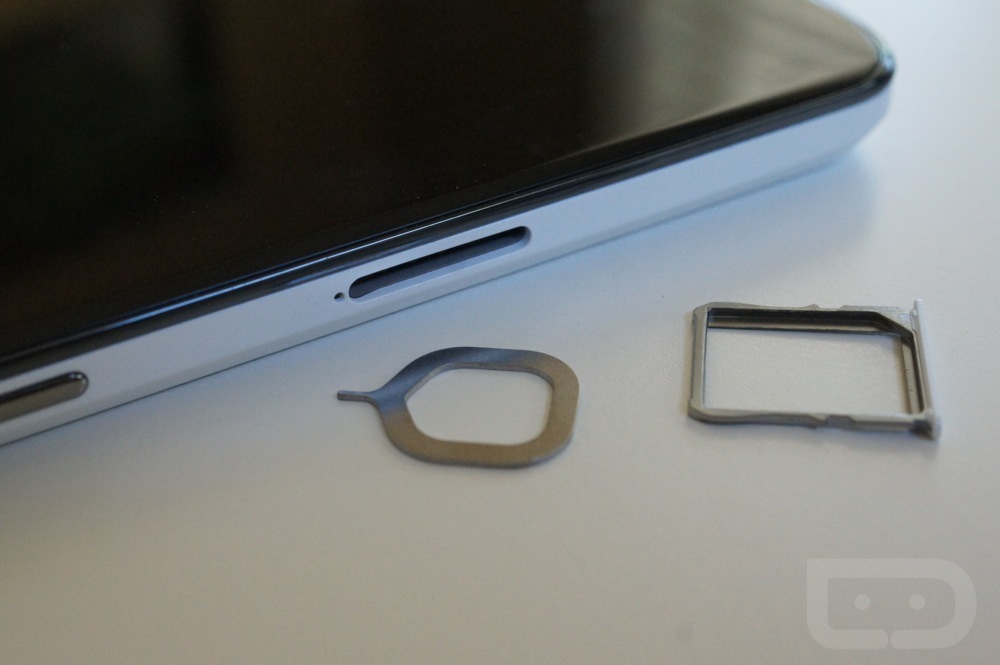
1. Remove any SIM cards and SIM card trays.
2. Remove both T5 Torx screws from the bottoms of the devices.

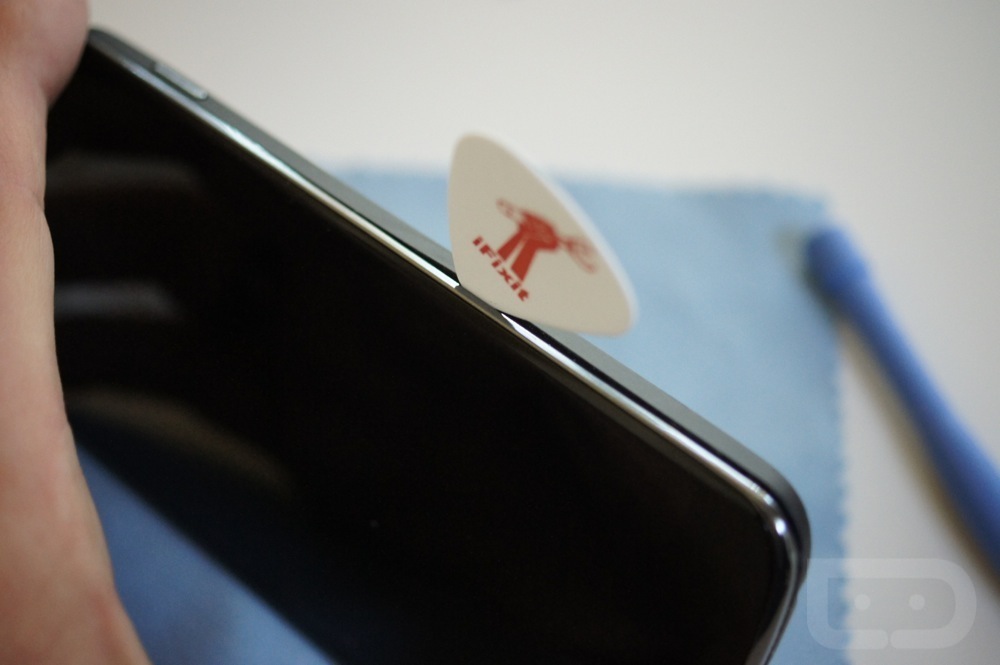
3. Starting from the bottom by the microUSB port, using a guitar pick, slide between the metal rim and the bottom cover. As you work your way from the bottom around each side, you’ll hear slight popping noises, which are the plastic tabs that hold the back cover into place popping out. Be careful as to not break a tab. You’ll need to repeat this process around each phone to remove each back cover. I shimmied my way from the bottom and up the right side, then the left side. Once I had the bottom and both sides loose, I used my fingers to slowly lift the cover and pop it off of the top section of each phone
Note: When I removed the black cover, I either broke a plastic holder that kept the Volume rocker in place or it wasn’t attached to the cover like it is on the white version. Either way, be careful and try not to lose either the Power switch or Volume rocket once you fully remove the back side in case they are loose. When you get to each button with the guitar pick, gently pop each tab away.
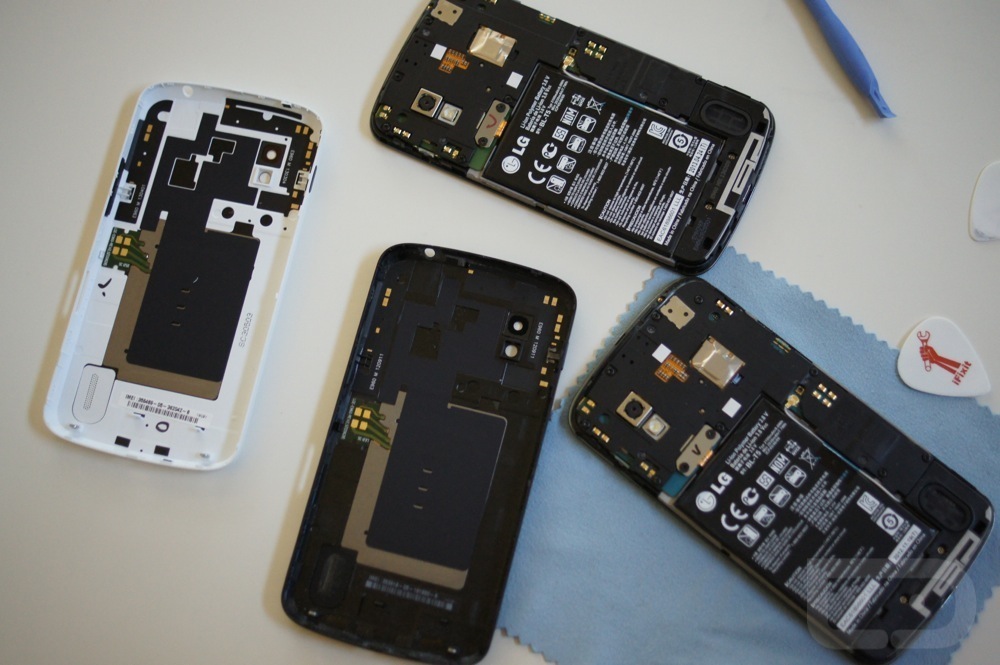
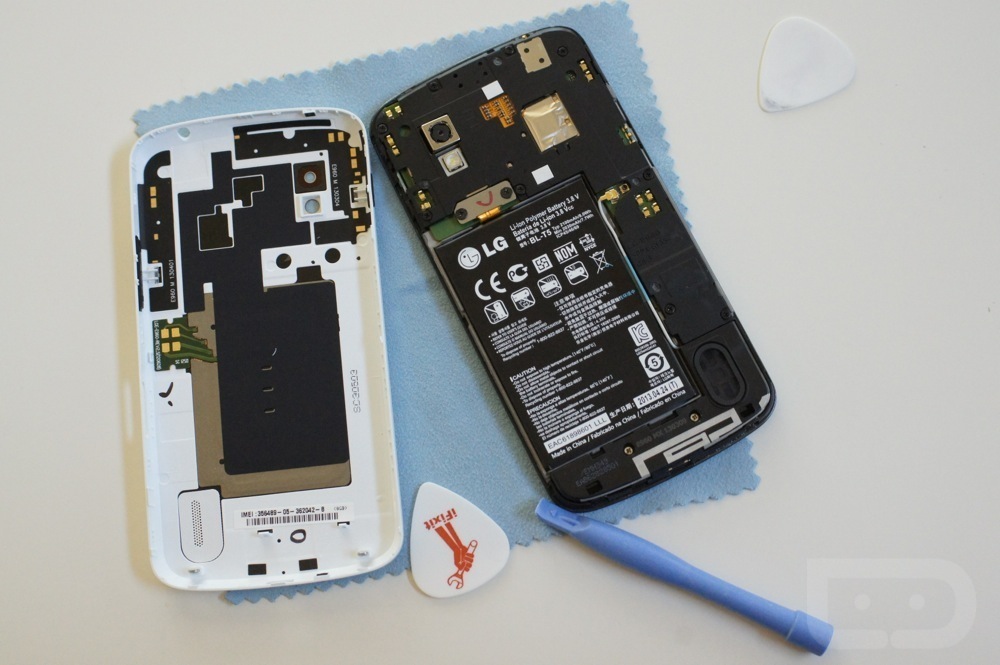
4. Once you have wiggled off the back casings from each phone, your next few steps are incredibly simple. But first, this is what your desk will look like. As you can see, the devices are identical underneath those back plates. I was unable to find any difference whatsoever – everything is in the exact same place. Make sure you know which device is which, so that you don’t accidentally replace backs to the wrong devices. I’d hate for you to go through that process once again.
5. With the white back cover in hand, grab your previously-black Nexus 4 and slowly start to pop it into place. I started with the top section and then slowly worked my way around the phone by popping each tab back into place. It won’t take long, but again, don’t be in a rush. You want to slowly pop each into place as to not break any of the tabs.
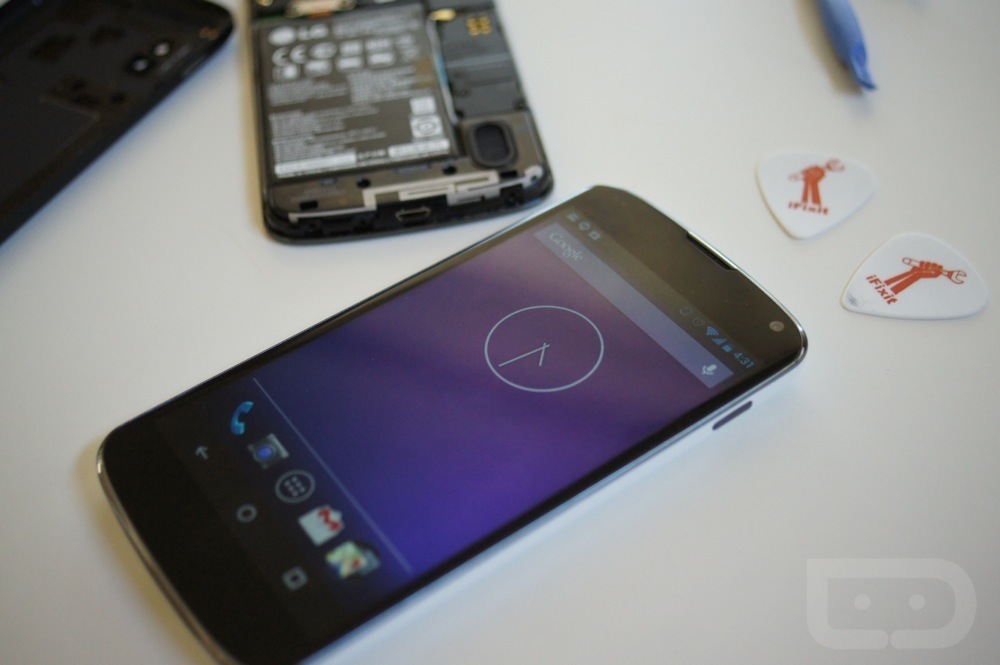
6. Once you have finished popping the back cover on, replace the T5 Torx screws and the SIM tray. Fire your phone up and enjoy your new white Nexus 4.
In total, this took me 25 minutes to do.
This process really is as simple as it sounds. You may struggle a bit removing the bottom corners with the guitar pick, but with a little patience and gentle wiggling, it doesn’t take long. For anyone who owns a black Nexus 4, but would rather have the white version, I’d recommend watching eBay shops that sell replacement parts. Before long, we are bound to see white back replacement covers popping up at prices well under the $299 it would cost should you purchase a white Nexus 4.
H/T to the folks at iFixt for getting me started with their teardown guide.