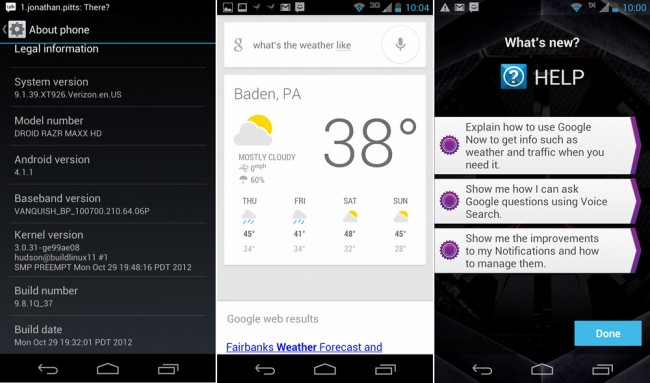
DROID RAZR HD (MAXX HD too) owners, ready for some Jelly Bean goodness? Before you say “yes,” understand that this is a leaked build of Android 4.1, which means we don’t know yet if you can flash back to an official build or if you will be stuck on this forever. That’s how leaks work, so if you choose to do this, know what you are getting yourself into. With that said, let’s talk about what we have.
The folks at DroidRzr found build 9.1.39 floating around on Moto servers and have posted it for your consumption. It has Google Now and probably looks just like the build that leaked for the RAZR M a few weeks back. We still do not know how stable it is though, so you may want to wait this one out, to see what others have to say. Again, this is a leak and not a final OTA update. For all we know, this could be Moto’s first attempt at JB for the RAZR HD and is riddled with bugs.
Update: Matt Groff’s RAZR HD Utility will allow you to flash back to 0.6.25 from this Jelly Bean leak. Translation – that means you won’t be stuck on Jelly Bean! Flash away and enjoy Google Now!
Instructions
*Should work for DROID RAZR HD and MAXX HD on the latest build 0.7.2. They are the exact same phone with identical software, just with different batteries and storage.
1. Download the update.zip file and place on “external1” (SD card) storage. [Download]
2. Download this crc file and place it on “external1” (SD card) as well. [Download]
3. To keep root, you need to be rooted. Install OTA RootKeeper after rooting to keep root.
*We should point out that you do not need to be rooted in order to flash this Jelly Bean build. Skip steps 3 and 4 if root is not your thing.
4. In RootKeeper, “backup su” and then do a “Temporary unroot.”
5. Turn your phone off.
6. Reboot into recovery:
*Hold Volume Up and Power until you get to the boot screen. Press Volume Down to select “Recovery.” Then hit Volume Up to choose it.
7. When the Android logo shows up, press both Volume buttons at the same time.
8. Choose “apply update from external storage.”
9. Find the update.zip file that you downloaded above and select it.
10. Your phone will update and reboot with Jelly Bean.
Via: DroidRzr

Collapse Show Comments57 Comments