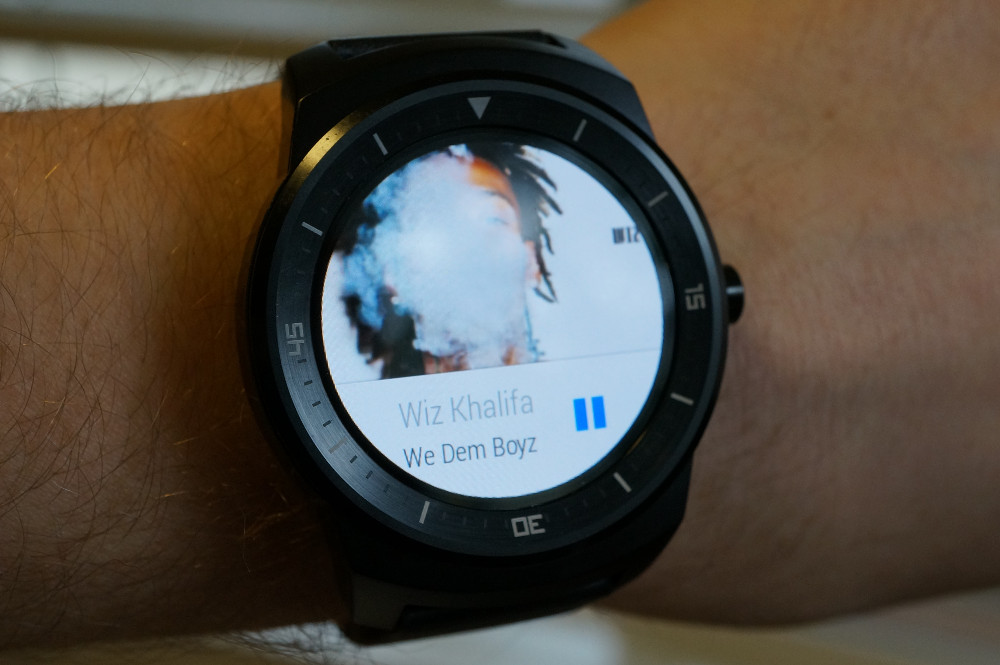
With an update to Android 4.4W.2, Android Wear now supports music playback while offline, which is a fancy way of saying that it is not connected to your phone. This is a pretty useful new feature, as you can pair your watch with a Bluetooth headset, leave your phone behind, and enjoy music on the go (it’s great for workouts where you don’t want to lug your massive phone around).
Since many of you are now receiving this new 4.4W.2 update, we thought it was time to walk you through the steps on how to setup this new functionality. The entire process can be a bit tricky, and is also insanely slow, so let’s talk it out together.
Instructions
1. Set aside 3 or 8 or 15 hours of time, because this takes forever. I’m only semi-kidding.
2. Update to the newest Google Play Music and make sure your Android Wear device is on 4.4W.2.
3. Decide which music you want to download in Google Play Music.
4. Download it.
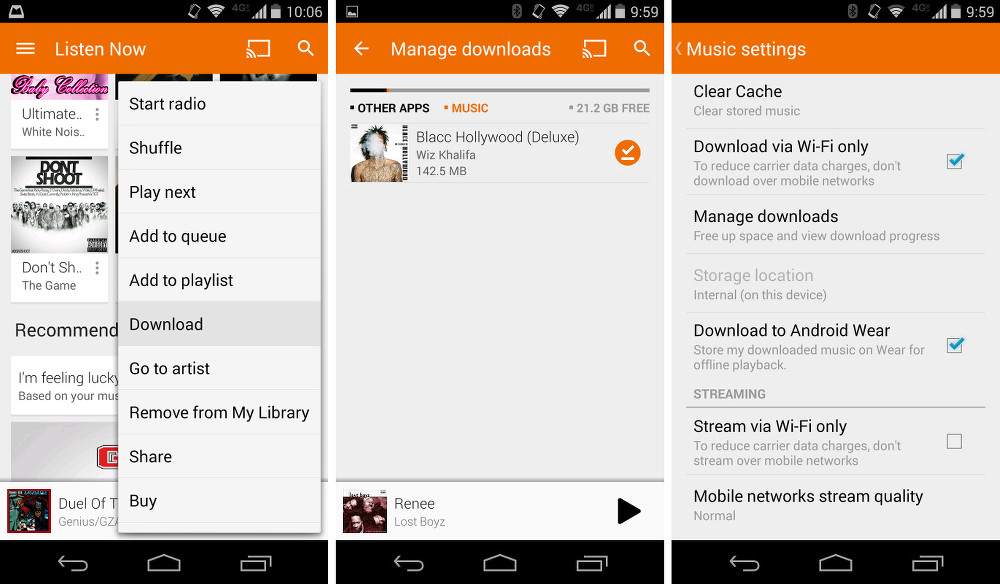
5. Head into Google Play Music settings and check the box for “Download to Android Wear.”
6. This will then transfer any stored Play Music that is on your phone, to your Wear device.
Note 1: The process of transferring music to your Wear device happens automatically – you do not have to initiate the transfer. As long as you have the box checked that we mentioned in step 5, the music starts moving once it has been fully downloaded to your phone.
Note 2: From what I can tell, there is no way to specify which music you want to transfer. The option for transferring simply says that downloaded music will bed stored on Wear for offline playback, which sounds to me like it plans to move it all over. That’s bad news for anyone with more than 4GB of music stored on their phone, as most Android Wear devices only come with 4GB of storage. Hopefully, we see more control here soon. Otherwise, you may have to constantly tweak the downloaded music on your phone in order to continually change it on your Wear watch. Best to create a running or workout or on-the-go playlist, and just download that.
7. Depending on how much music you want to transfer, this is where the wait comes in.
Note 3: You first have to download the music to your phone. Once that completes, the automatic transfer begins happening from phone to Wear device, which takes a while. A 15-track album just took about 10-15 minutes to complete between my new Moto X and G Watch R.
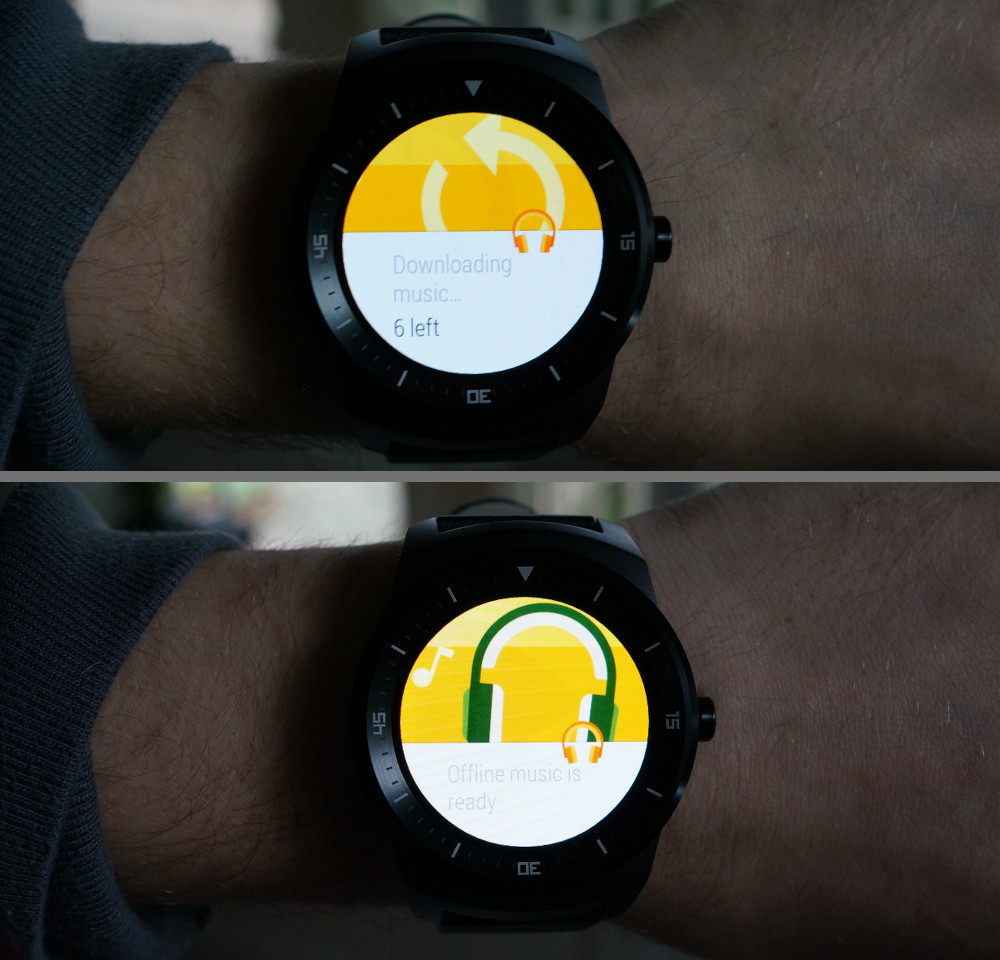
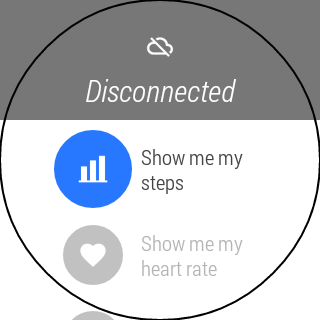
8. Once that completes and your Wear watch tells you so, it’s time to disconnect from your phone and test!
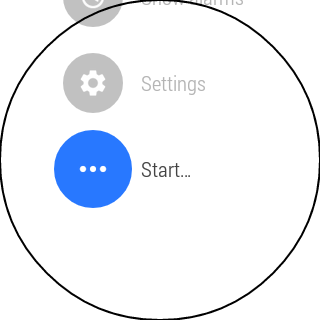
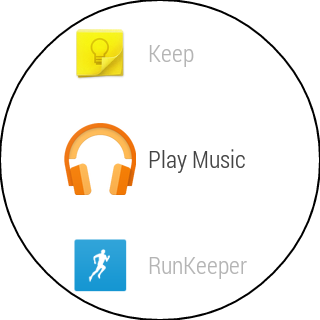
9. With your watch disconnected from your phone, you need manually launch Play Music.
10. Tap the screen to enter the menu, scroll down to Start…, and then Play Music.
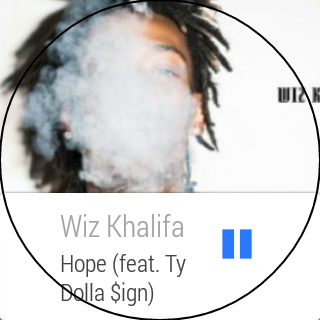
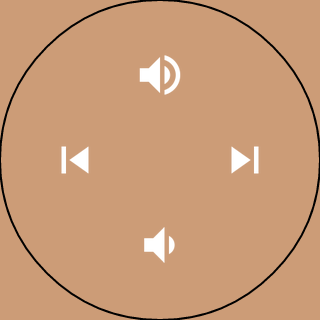
11. You should now see the music you transferred over with a “Play” button. Tap it and start listening.

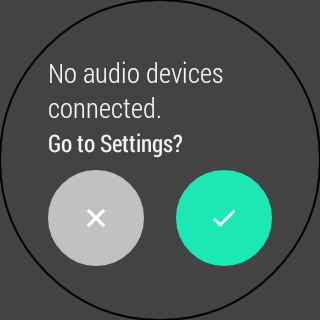
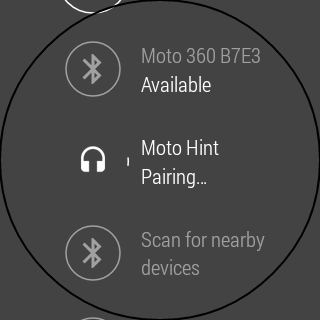
12. If you don’t have Bluetooth headphones attached, your Wear device will tell you to connect or set them up.
13. An audio device screen will allow you to go directly to settings to do so. Press the green check to start.
14. Search for your Bluetooth device in the list of available devices, tap on it, and following the pair prompts.
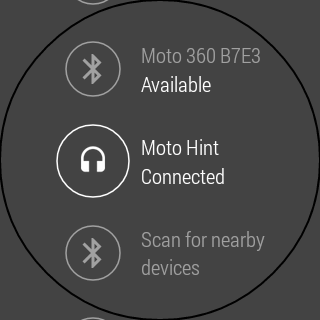
15. Once connected, you may need to jump back up to step 10 and repeat.
16. Enjoy!