
With the story of the Wired writer who had his entire digital life wiped out this weekend by hackers taking center stage this week, we figured now would be a good time to make sure all of you are taking the proper steps to ensure your online safety. Google’s two step authentication process has been public for some time, but is only just now starting to see wider use. Sometimes, it takes an event such as the one that happened to poor Mat Honan for people to realize that their digital lives could use a bit more security.
1. What is two-step authentication?
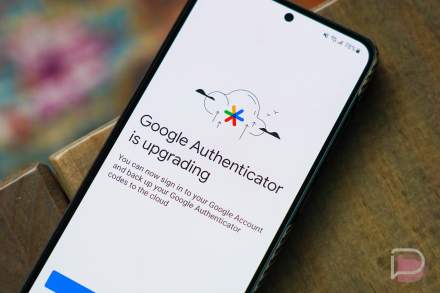
In this context, Google Authenticator works as a second line of defense if your account is compromised. When setup of Authenticator is complete, you log in to your account as you normally would, but much like you would see on a banking website, there is an additional step for signing in. A numerical authentication code is messaged to the mobile device tied to your account for entering, which will then allow you to gain access to your account. The authentication code is never the same twice, which ensures for a more secure experience for users.
2. Setting up Google Authenticator.
Setting up Authenticator isn’t the easiest process, especially if you have multiple devices on a single account. First, you must enable the feature in your Google account under the “Security” option. Once enabled, you set it up to send a six digit code for authentication purposes to your cell phone. Select your main phone’s number and not a Google Voice number that is tied to your account. Once you have paired both your 2-step authentication and your smartphone, you can then start adding your other Android devices and also download the Authenticator app from Google Play, which does not need a data connection to create your codes for logging in.
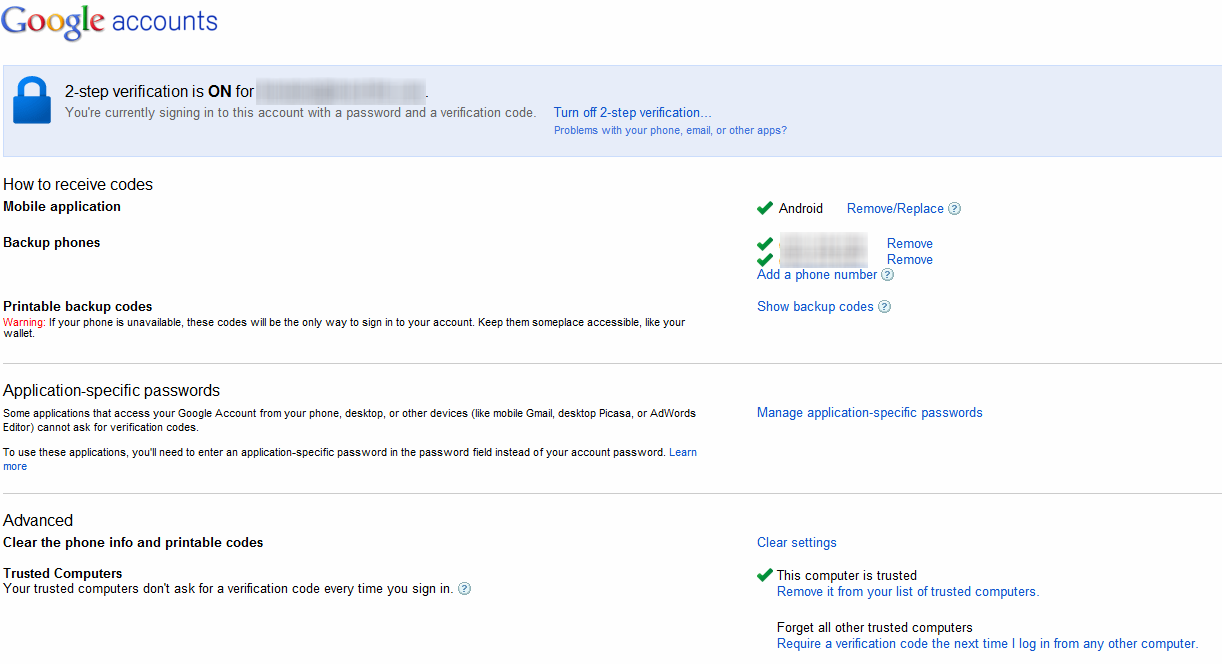
After these steps, it will ask you to mark the computer you’re signing up on as a “trusted computer,” meaning it won’t ask you to verify log ins from that computer except for every 30 days or sometimes longer. At this point, you’re at the landing page for all of your two-step settings. From this page and this page alone, you can change individual application access, add or remove trusted computers, and add more backup phones.
Once you’re done adding your backup devices and you have optionally printed out your manual backup codes (for safe keeping), you’re pretty much good to go. I had to re-log into my Google Account on my phone and have a code handy for accessing, but after that, it seems to be doing its job.
Note: For habitual ROM flashers that wipe their data every week or so, this may not be a fun process. When logging into your Google account at the setup screens, make sure to have authentication codes and a computer handy. If you run out of manual codes from your account’s dashboard, you can have them generate more codes. We wouldn’t want you to be locked out of your device.
[youtube]http://www.youtube.com/watch?v=zMabEyrtPRg[/youtube]


