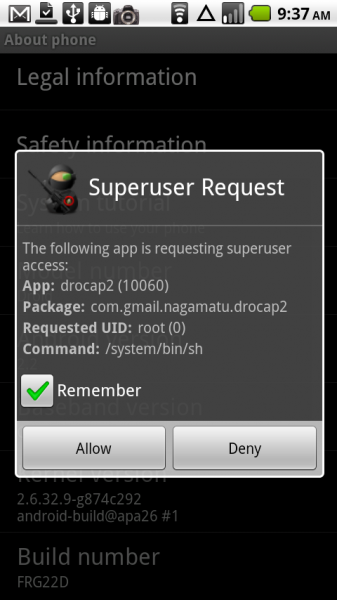
After updating to Android 2.2 FRG01B and FRG22D, there have been so number of issues after rooting and it appears to have finally been figured out by the brilliant minds of the Android community. Apparently with FRG01B, came a fix which would continue to break any custom recovery and return the phone back to a stock recovery leaving you all full of frustrations when trying to flash any custom ROM. (Pretty sneaky right?) Well with this new rooting method for FR22D, you not only gain root access, but you also trip this new recovery breaker giving you life long access to actually enjoying so many of the hidden secrets on your Droid device.
So you know, this is essentially the same method used on the Droid 2 and Droid X running 2.2, it has just been manipulated to fit the D1.
THERE IS ANOTHER METHOD AVAILABLE WHICH USES RSD LITE AND SBF FILES. IF THE METHOD IN THIS POST IS CONFUSING CHECK OUT OUR OTHER 2.2 ROOTING GUIDE.
*Warning* – As always, when you decide to root your phone, you understand that it voids your warranty. You also take all responsibility should something permanently damage your phone. Droid Life will not be held responsible.
*Note 1*– This is going to look incredibly long and confusing, but trust me when I say that it takes 5 minutes once you have the Android SDK installed. No RSD Lite or SBF files needed.
Instructions:
*Note 2* – You need to have current Motorola USB drivers depending on your system. (32-bit) (64-bit)
*Note 3* – You need the Android SDK and adb working properly. SDK instructions here or here.
*Note 4* – You need to download and unzip this file to your PC. This contains everything needed to root.
1.) Enable usb debugging on your device if you dont already have it enabled.
2.) Extract Droid2Root.rar to c:\droid2root
3.) Connect your phone to the computer via usb cable
4.) On the computer open the command prompt. (In the start menu under accessories)
5.) cd to your adb tools directory:For most the command would look like this cd C:\android-sdk-windows\tools
6.) Now enter the following commands:
adb devices (This should list a device as a long number. If it doesnt something is wrong.)
adb push c:\droid2root\rageagainstthecage-arm5.bin /data/local/tmp
adb shell
cd /data/local/tmp
chmod 0755 rageagainstthecage-arm5.bin
./rageagainstthecage-arm5.bin (Be patient here. When finished it will return you to c:\droid2root)
adb devices
adb shell (you should now see a # instead of a $)
mount -o remount,rw -t yaffs2 /dev/block/mtdblock4 /system
exit
adb push c:\droid2root\Superuser.apk /system/app
adb push c:\droid2root\su /system/bin
adb push c:\droid2root\busybox /system/bin
adb shell
chmod 4755 /system/bin/su
chmod 4755 /system/bin/busybox
mv /system/recovery-from-boot.p /system/recovery-from-boot.p.disabled
mount -o ro,remount -t yaffs2 /dev/block/mtdblock4 /system
rm /data/local/tmp/rageagainstthecage-arm5.bin
exit7.) Done! Reboot your phone for good measure. You are now rooted.
Running into issues? Drop your questions in the comments or head to our Live Support Channel!
And I apologize to those of you experiencing issues over the last few weeks. There has been a lot of behind the scenes frustrations with regard to the new Froyo for the original Droid and this should get you all straight. Thanks for sticking with us!
Via: Android Forums, Droid Forums


Collapse Show Comments239 Comments