Now that the bootloader on your Nexus 5 is unlocked, you are probably thinking about whether or not you should flash a custom recovery and root. If you decide that root is for you, we’ve put together a set of instructions for you to root your device in the old school, manual way. The good news is that you don’t have to use our instructions, as there are already at least two automated methods out there that will get you to the same place. We’re just a bit old school, I guess, and like to do things the long way.
Instructions
*These instructions assume you know how to use adb and have the Android SDK all setup. If you don’t, feel free to use one of the many root toolkits available here, here, and here.
*Seriously, if you don’t feel like spending the 5 minutes that this tutorial takes, there are automated approaches at all three of those links.
1. First, unlock your bootloader. [Instructions]
2. Download the latest TWRP recovery for the Nexus 5 to your computer. [Downloads]
3. Place the .img file in your SDK platform-tools folder.
4. Plug in your phone in and open a comand prompt from with your platform-tools folder.
5. Type:
adb reboot bootloader
(Note: on a Mac you have to use ./ in front of commands.)
6. Once it boots to the bootloader screen type:
fastboot flash recovery openrecovery-twrp-2.6.3.1-hammerhead.img
(Depending on when you read this, the recovery.img file name could change Adjust accordingly.)
7. Wait until the recovery finishes flashing and reboot to recovery.
Press Volume Down until you see “Recovery mode,” then press Power.
8. You should now be booted into TWRP recovery.
9. Tap “Reboot” and then “System.” TWRP should prompt you to root your phone.
10. Follow the on-screen instructions to root, should be swiping a bar from left to right.
11. Your phone will reboot. A notification should appear that reads:
Tap to install SuperSU and root your device.
12. Tap on it and follow the instructions to install SuperSU through Google Play.
13. Once it updates, go into your app drawer and open SuperSU. It may prompt you to update “su.”
14. Follow the instructions to update and then reboot when it tells you to.
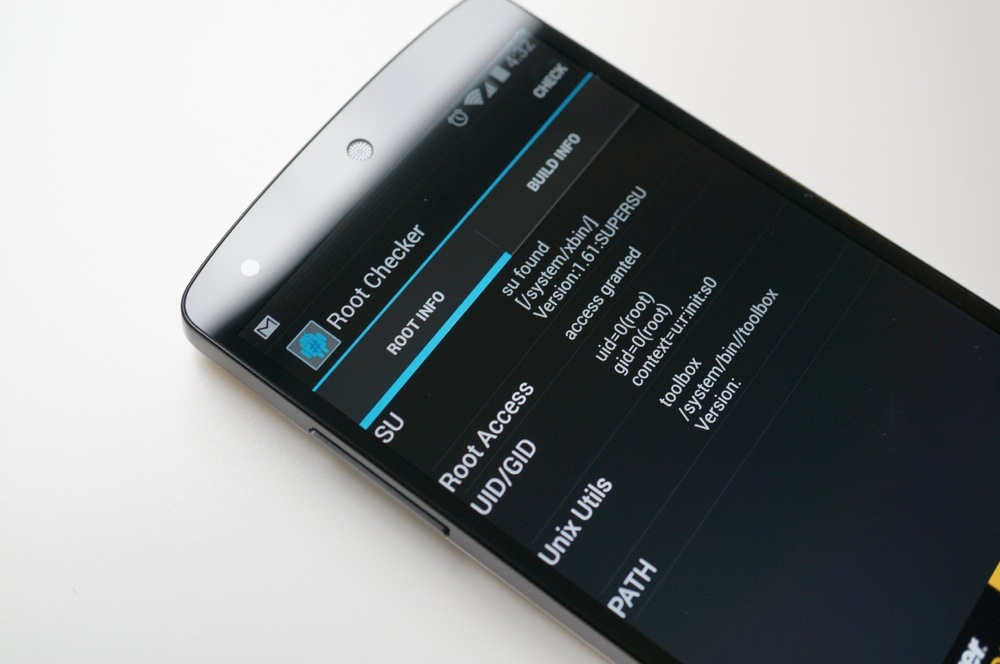
15. You are now rooted.
Collapse Show Comments85 Comments