One of those back-end sets of changes in Android M that I think you are going to really love has to do with the new App Manager or “Apps” section in Settings. In previous versions of Android, this section included three columns of “Downloaded,” “Running,” and “All” apps. These three columns could be navigated easily, but always seemed a bit convoluted. Now, the upfront interface of “Apps” is much simpler, but man, are there are all sorts of new tools and options to tweak should you really want to dive into how your phone runs.
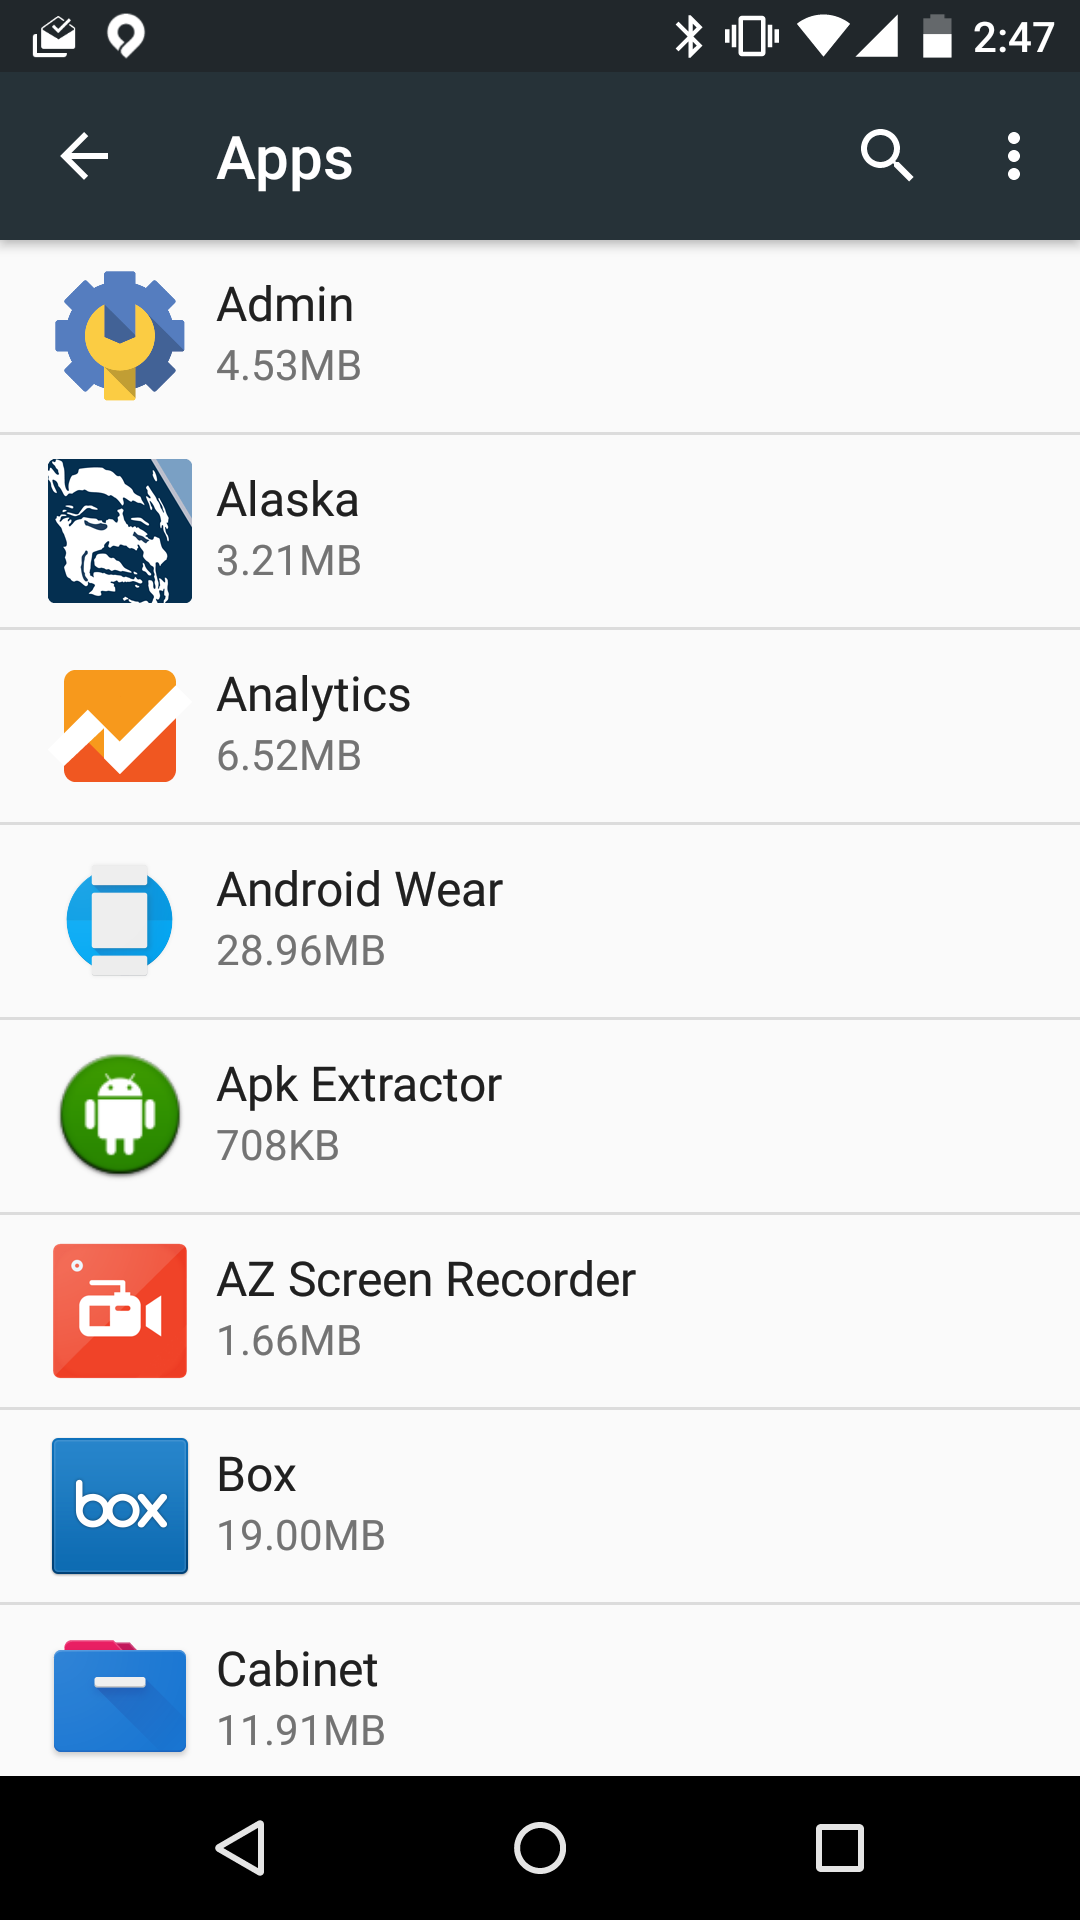
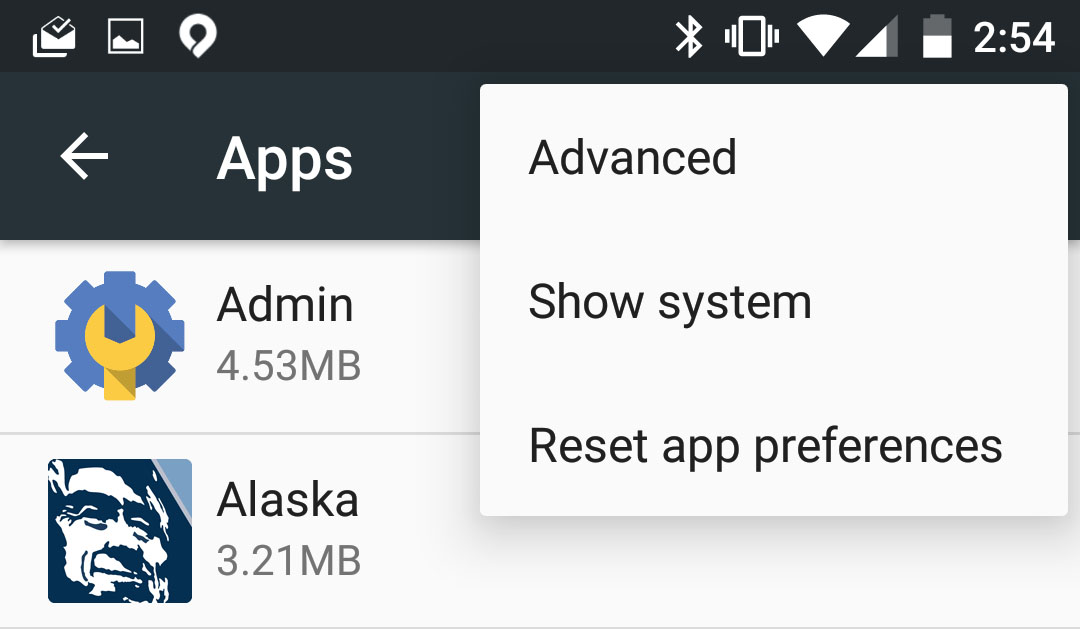
For one, the three columns are now gone. Google has simplified everything down into a single column of apps. Downloaded apps and others that may be pre-loaded that you will use regularly will all show in this list, but if you want to see things like “Nfc Servie” or “Print Spooler,” you will have to tap the action overflow menu in the top right and tell it to “Show system.”
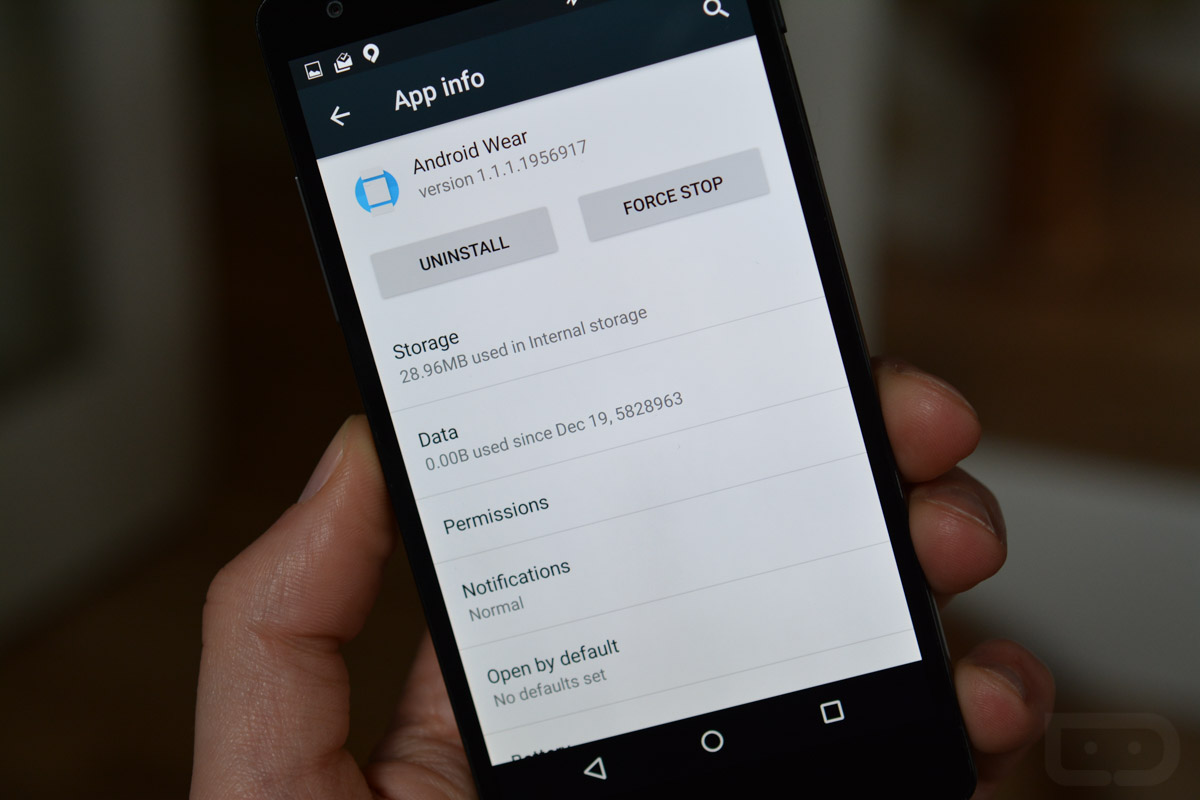
You will also see an option for “Advanced,” but hold onto that thought as we have a whole bunch of other items to address. Let’s first tap on an app to see what has changed in app info pages. We’ll use Android Wear for this example.
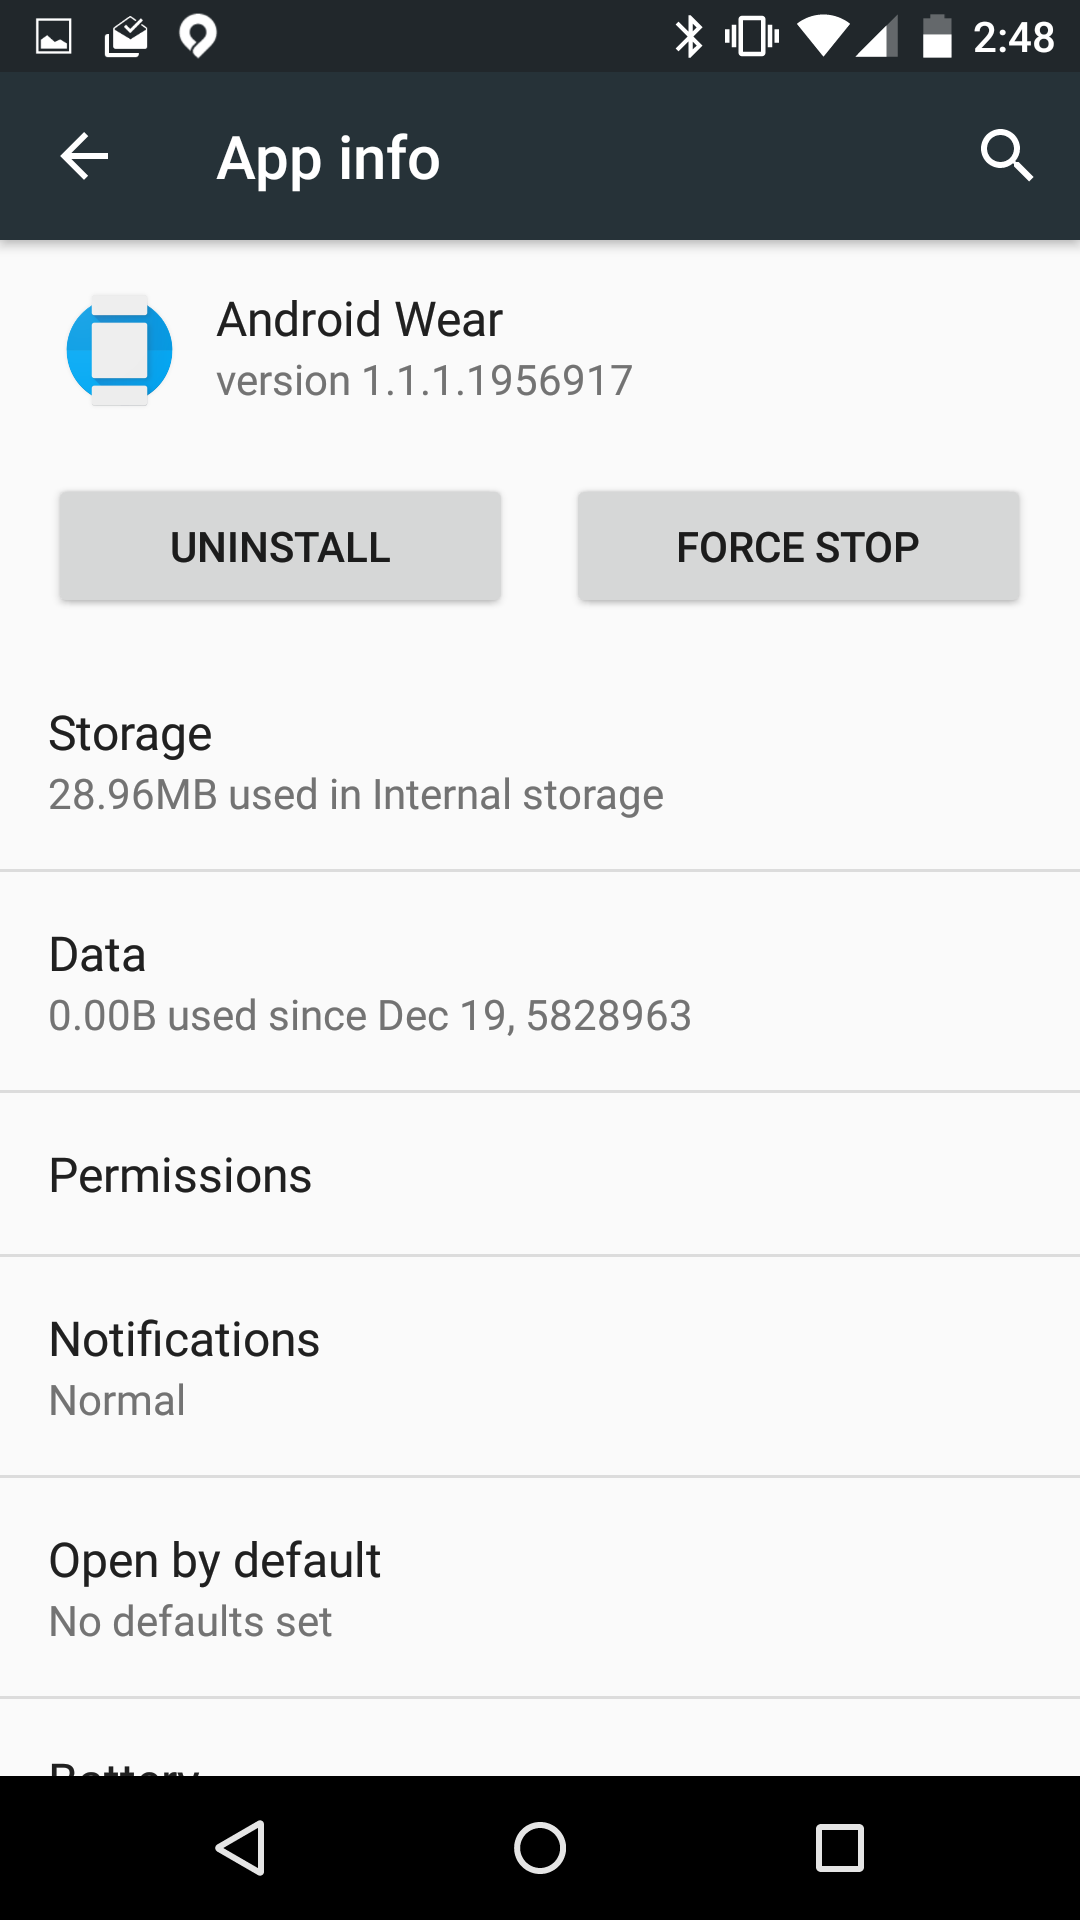
The first thing you should notice is how clean and simple the app info pages are now. They are no longer broken up into big, extensive sections on a single page that allow you to clear data or defaults or check permissions. Instead, Google has given each section a shortcut which takes you to a new page filled with additional options. When you see all of your new controls, you will understand why Google went this route.
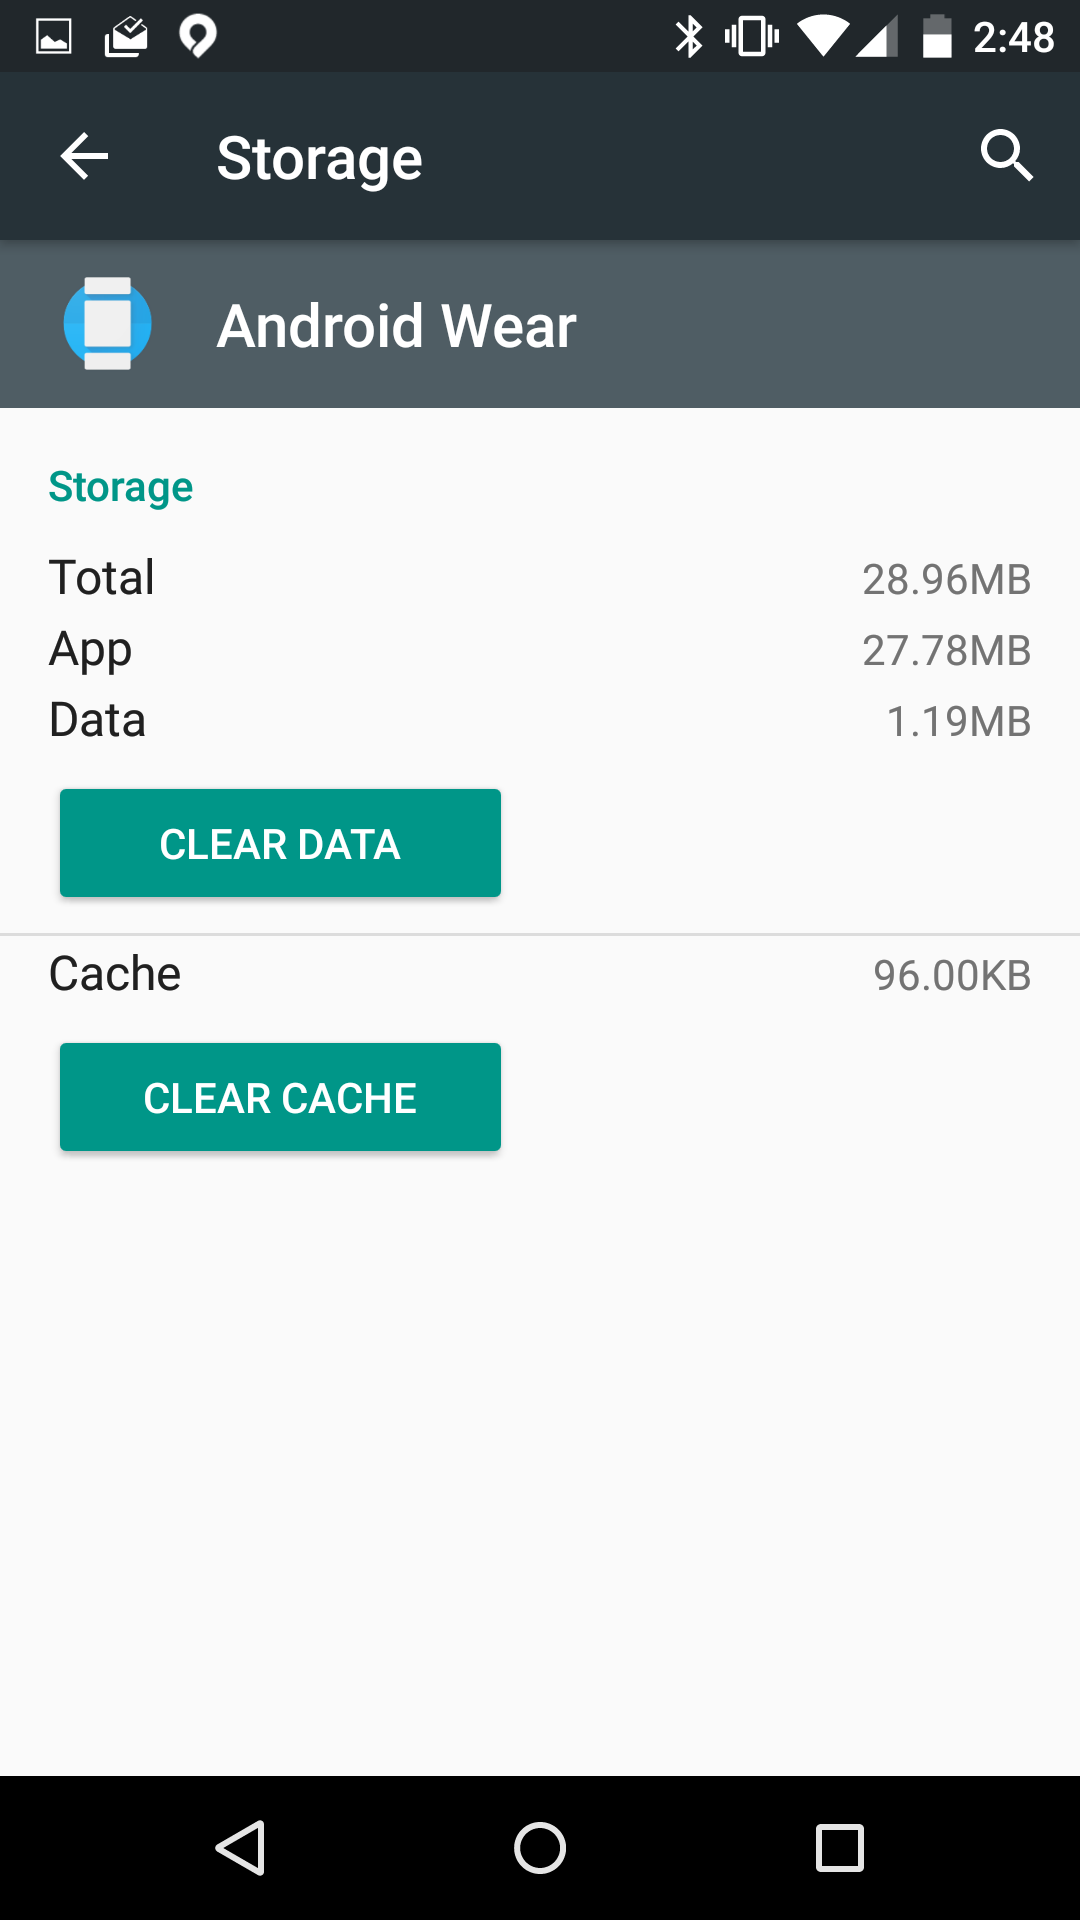
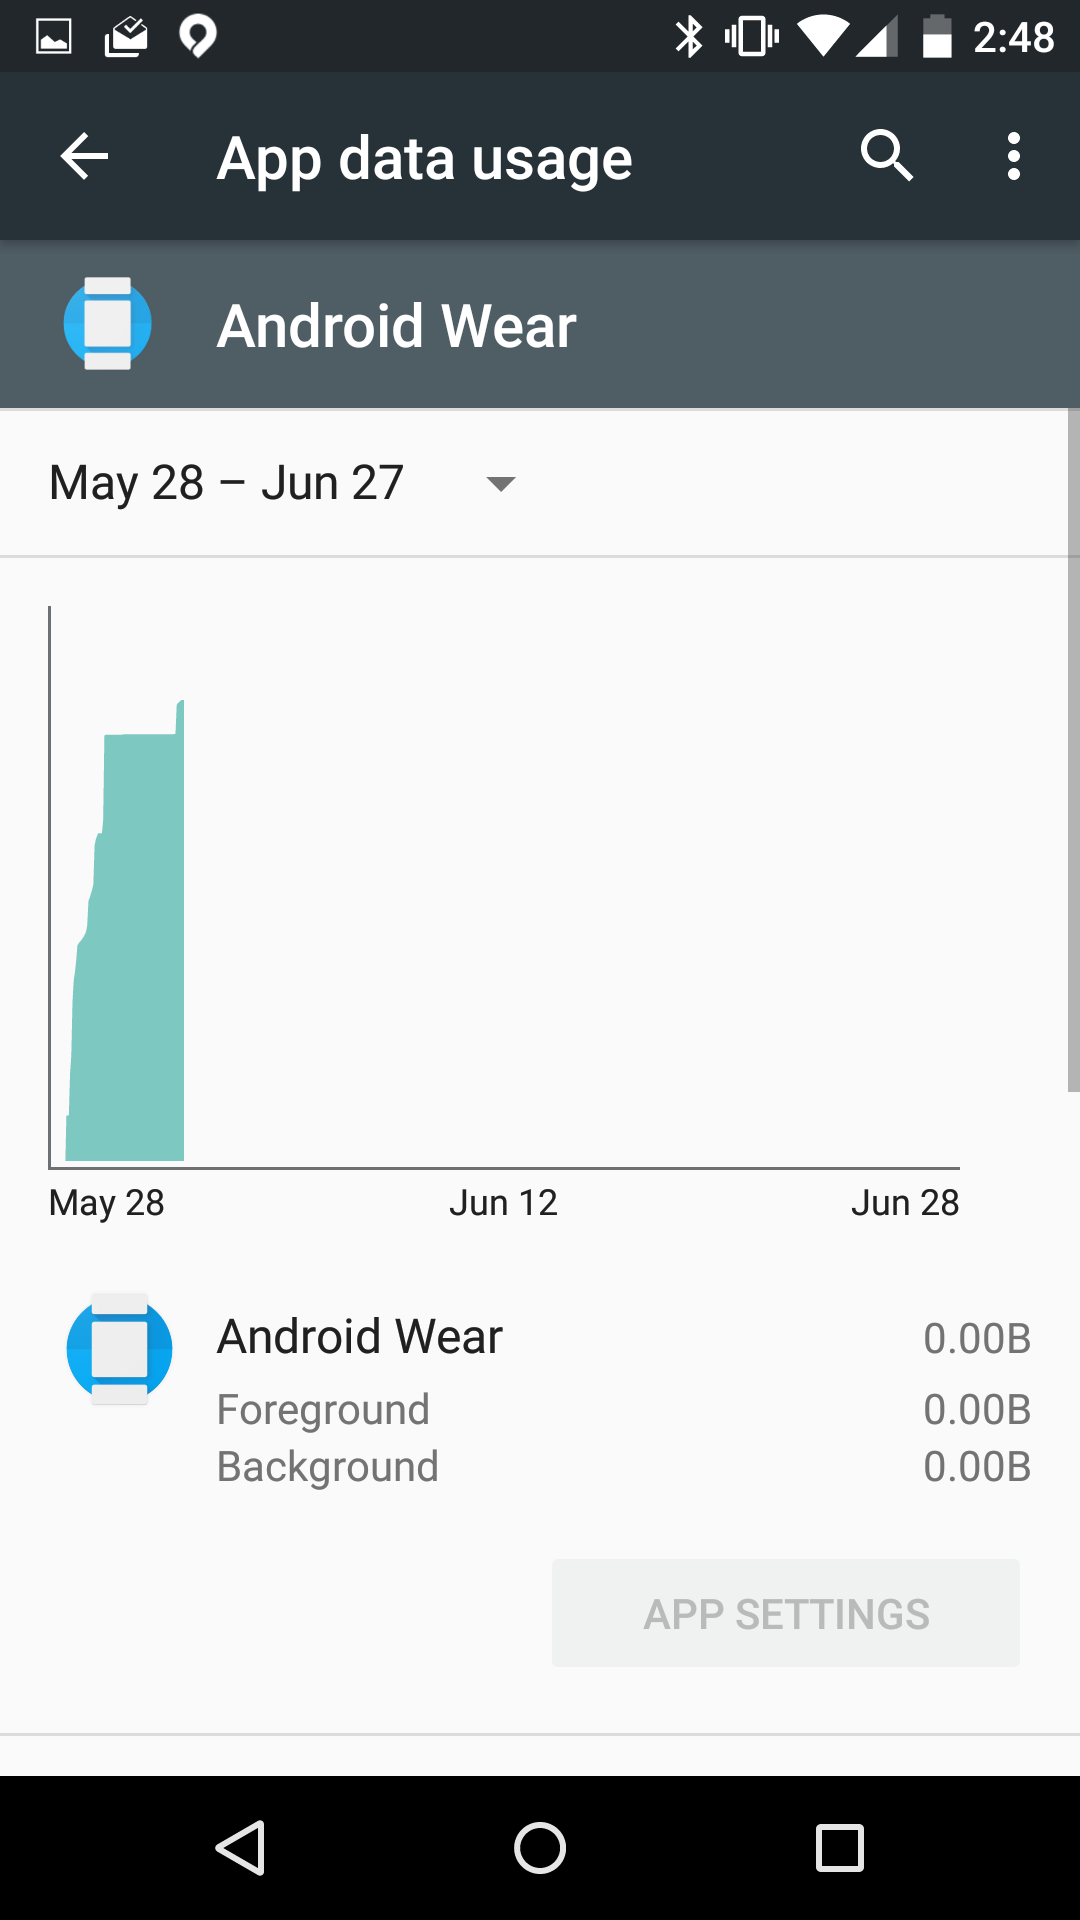

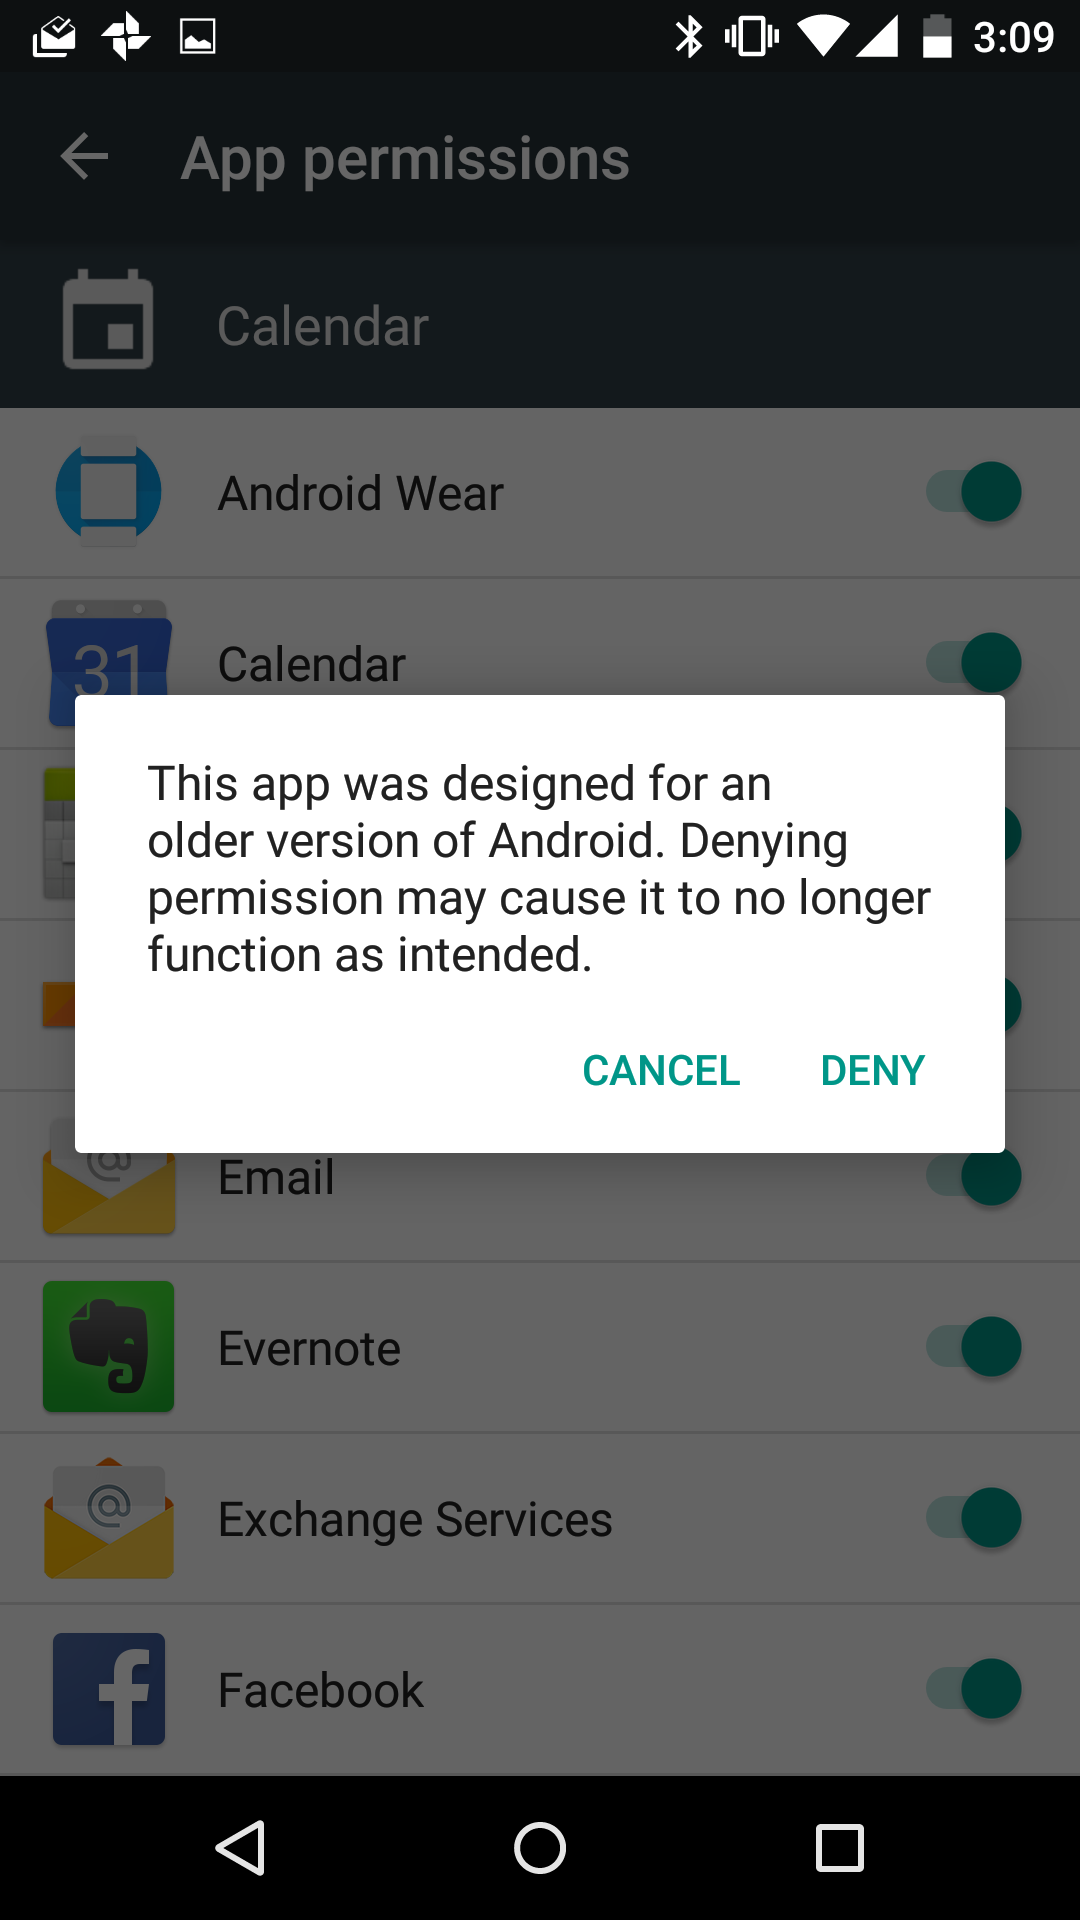
If we start tapping on items, this is where things get fun. As you can see above, you now have a separate page for “Storage” management under this specific app. In there, you will see familiar options for clearing data or cache and how much storage an app is gobbling up. You can check the data usage of an app by tapping on the “Data” option, where you will see a page fitted with a graph, date range, and whether or not it is using data in the background or foreground. If you want to start controlling permissions for a single app, something that is new in Android M, you would tap on the “Permissions” section. In here, as you might expect, you will find quick toggles for turning off individual permissions. Before you dive in a start doing this, remember that most apps aren’t currently built to function under this feature, so some may break. And don’t worry, Google will remind you.
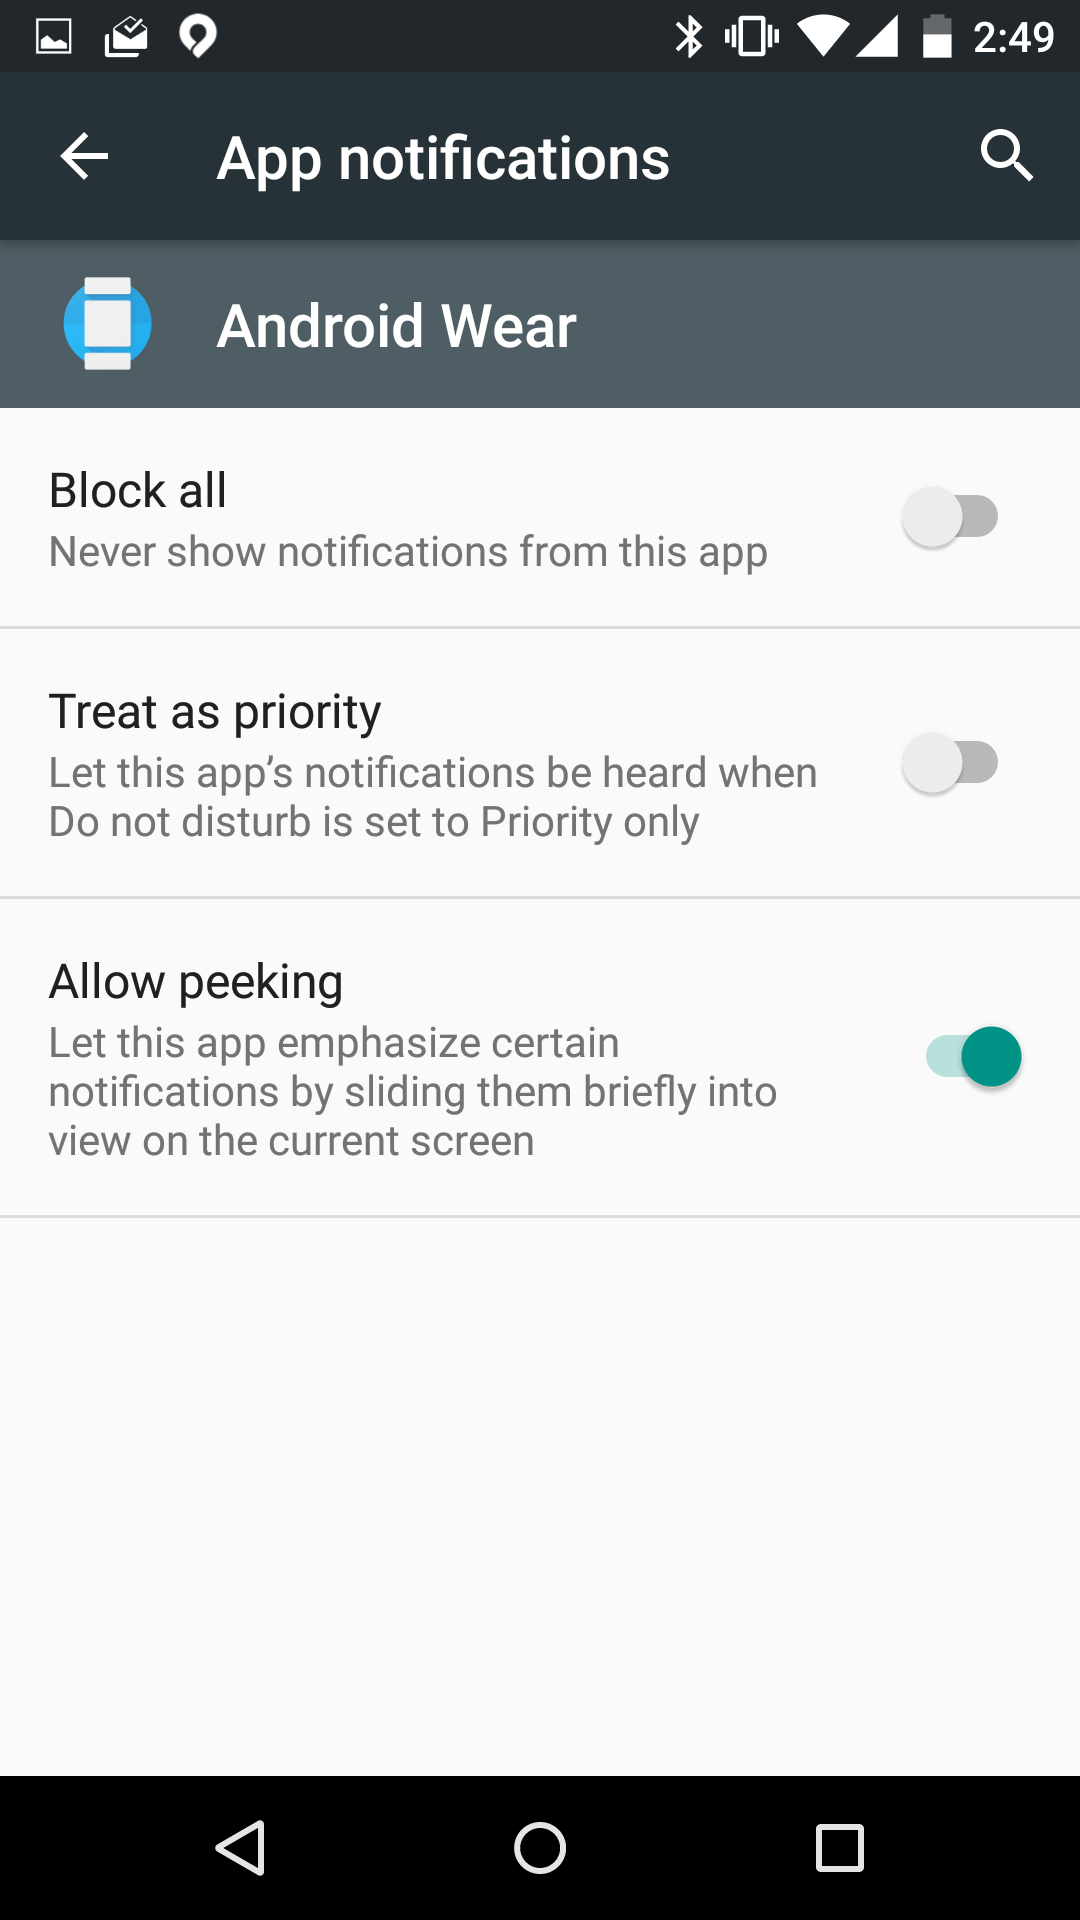
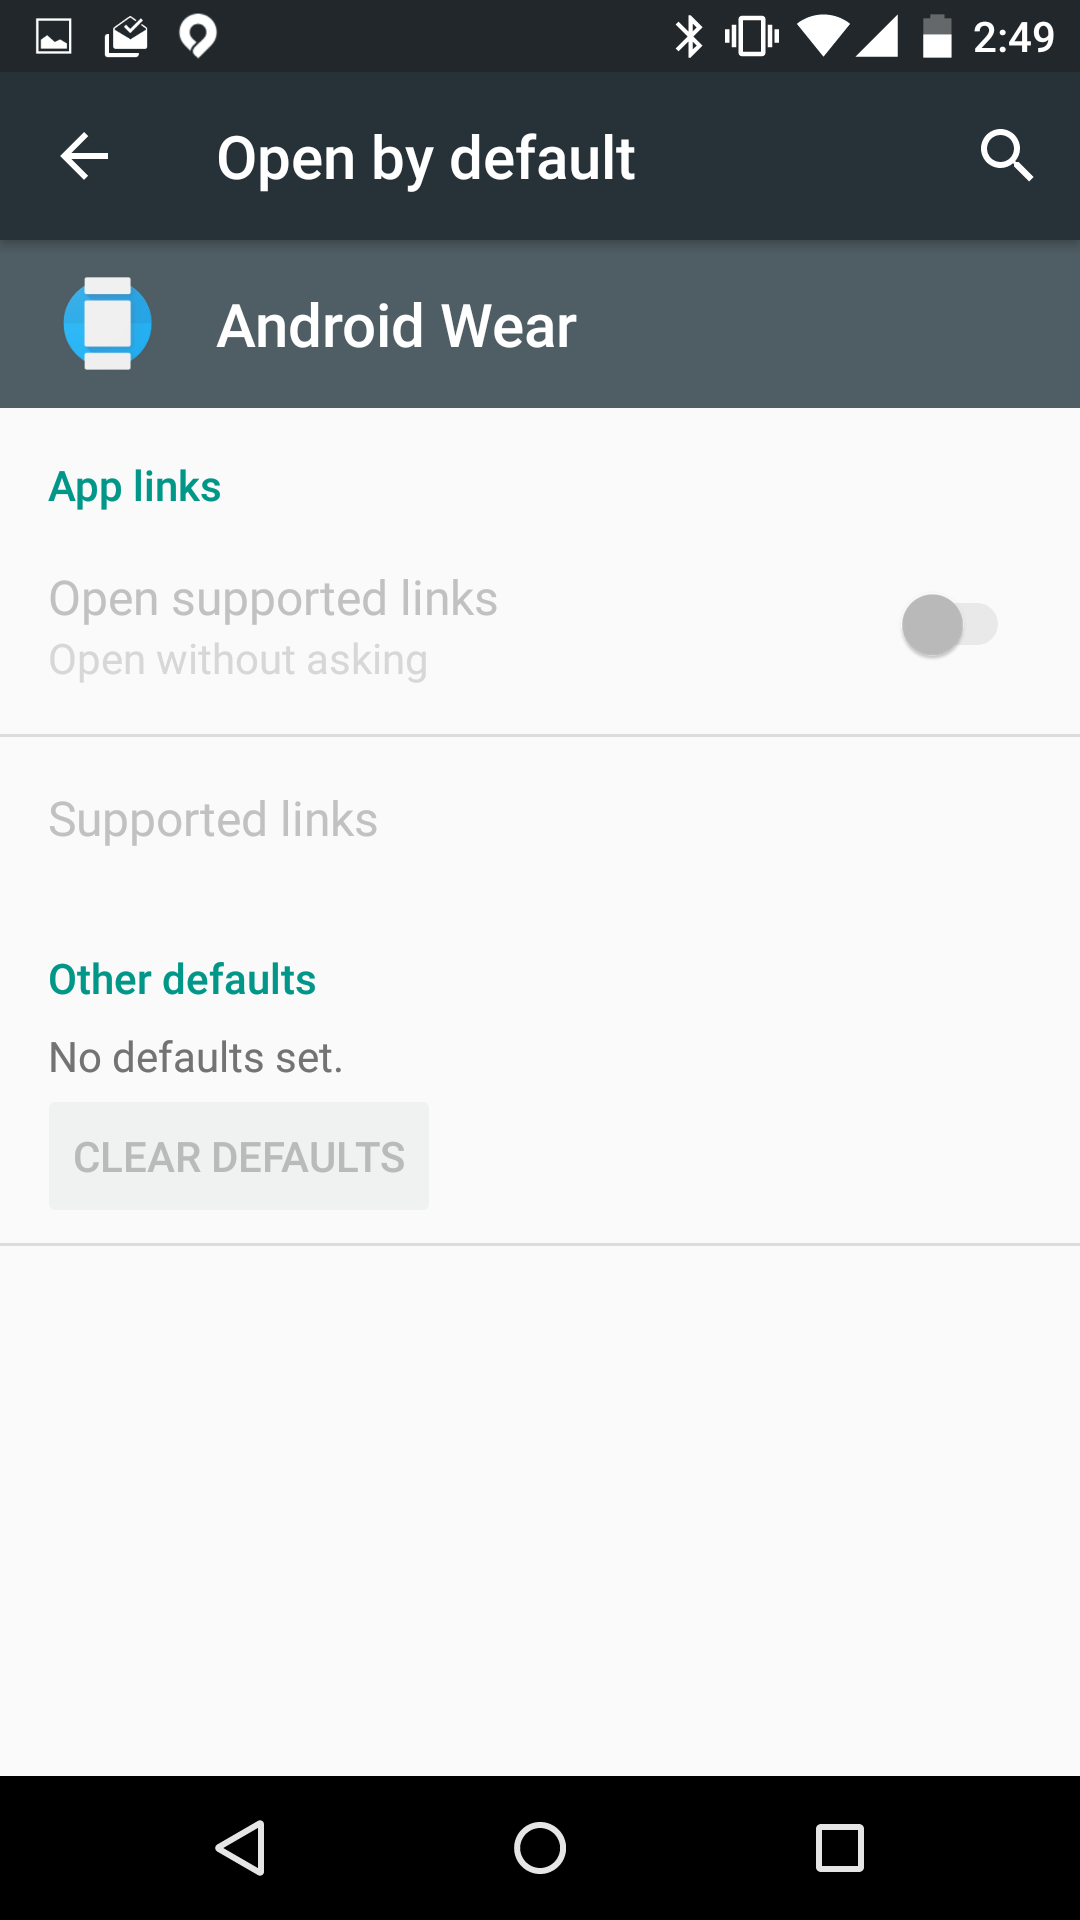
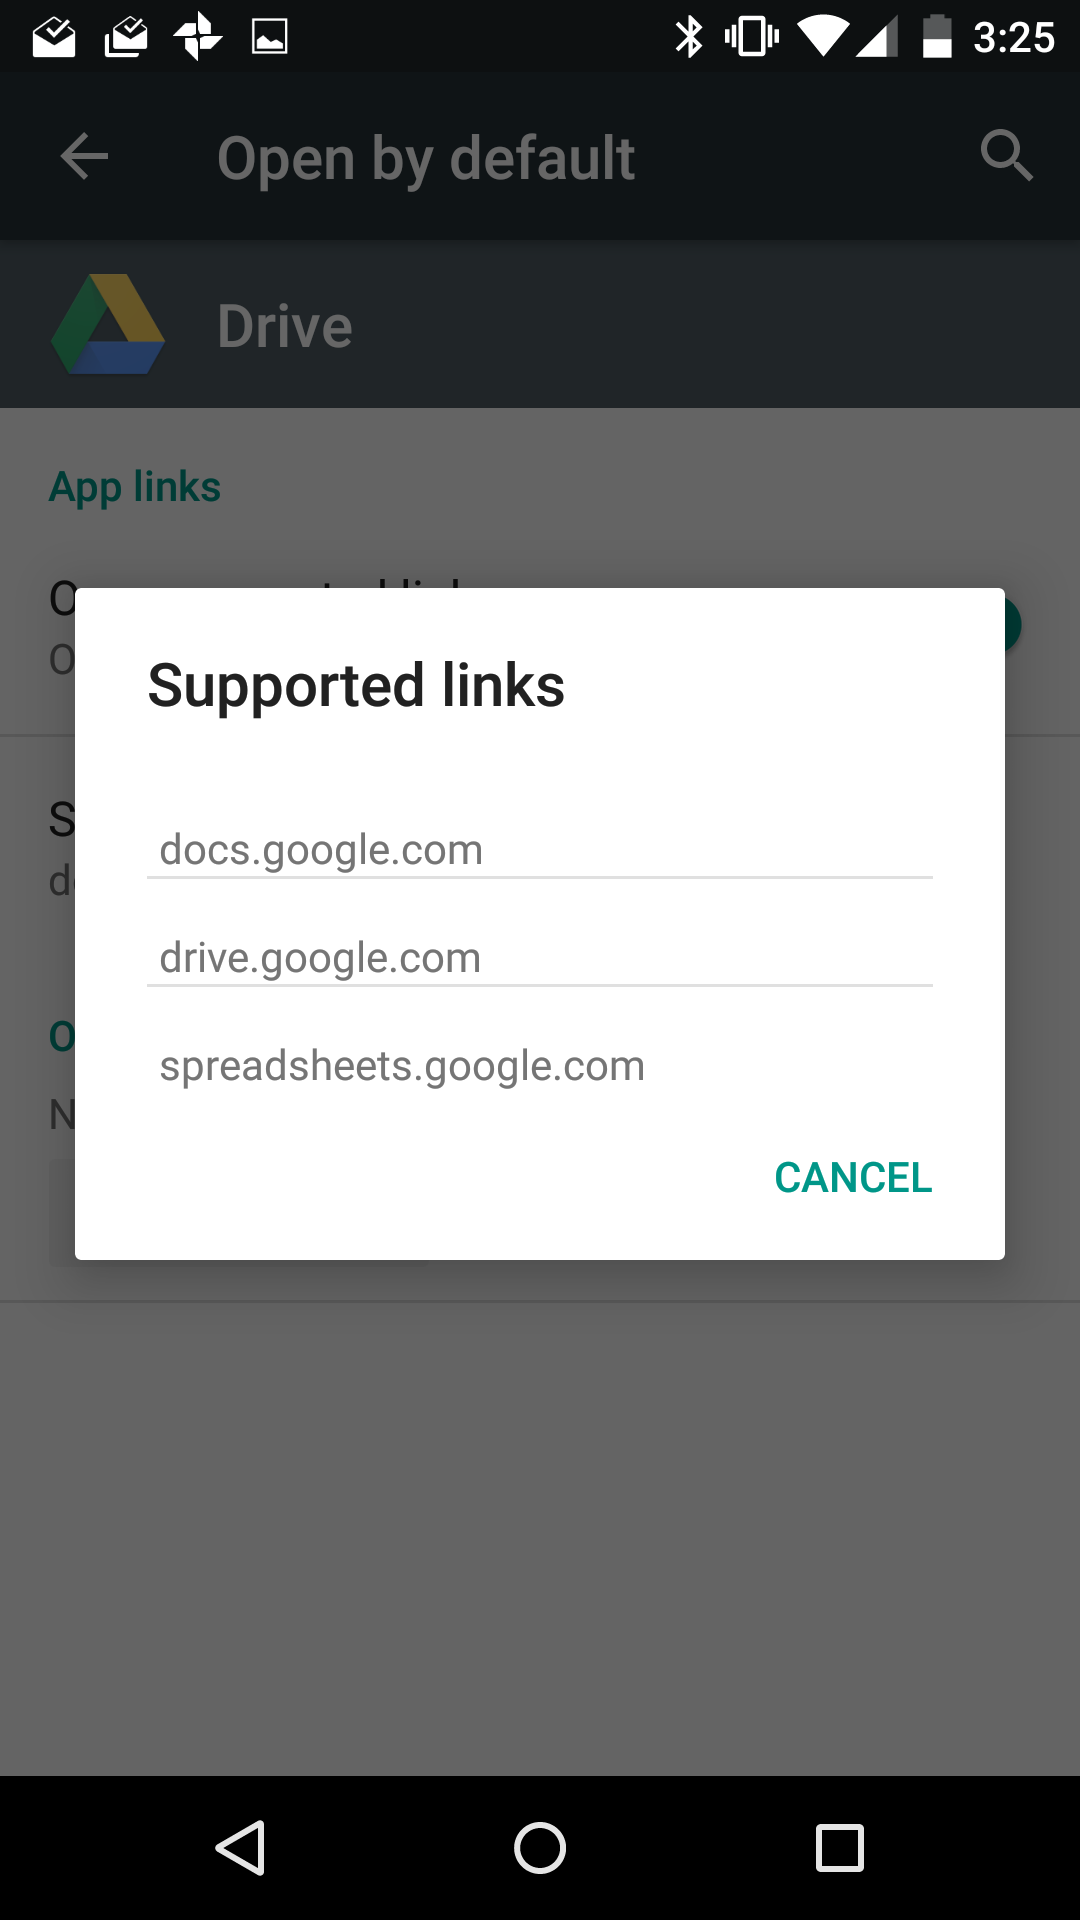
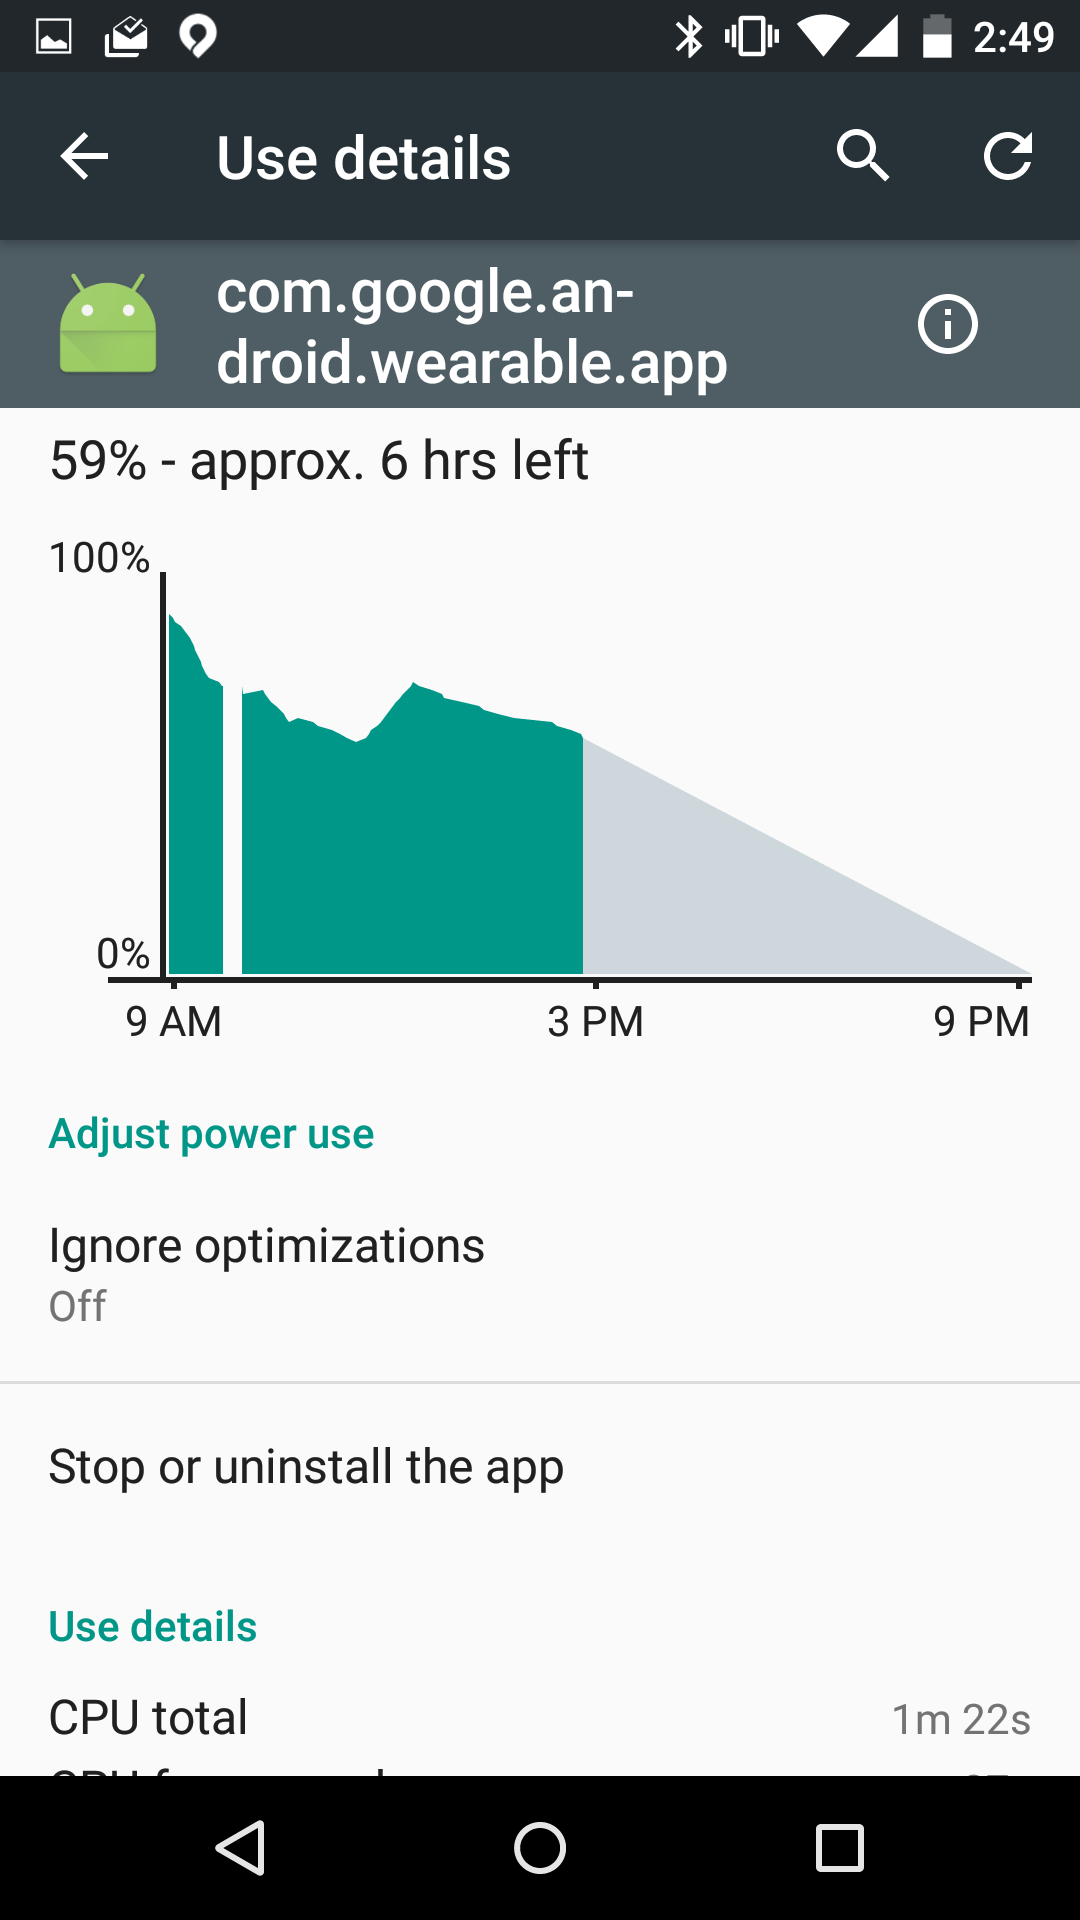
Should you choose the “Notifications” option, this is where you will find full notifications controls for an app, with toggles for outright blocking to treating as priority or allowing peeking (formerly known as heads-up notifications). The next section would be “Open by default,” which is your control page for system defaults you have set for that particular app. One new thing Google has added is “App links,” or giving a specific app permission to automatically open select types of links. For an app like Drive, you can see in the third image above that something like “docs.google.com” or “drive.google.com” would have permission to open. Finally, there is a section for battery, so you can see how much battery an app has been using with breakdowns of CPU total, keep awake time, WiFi packets received, and WiFi packets sent.
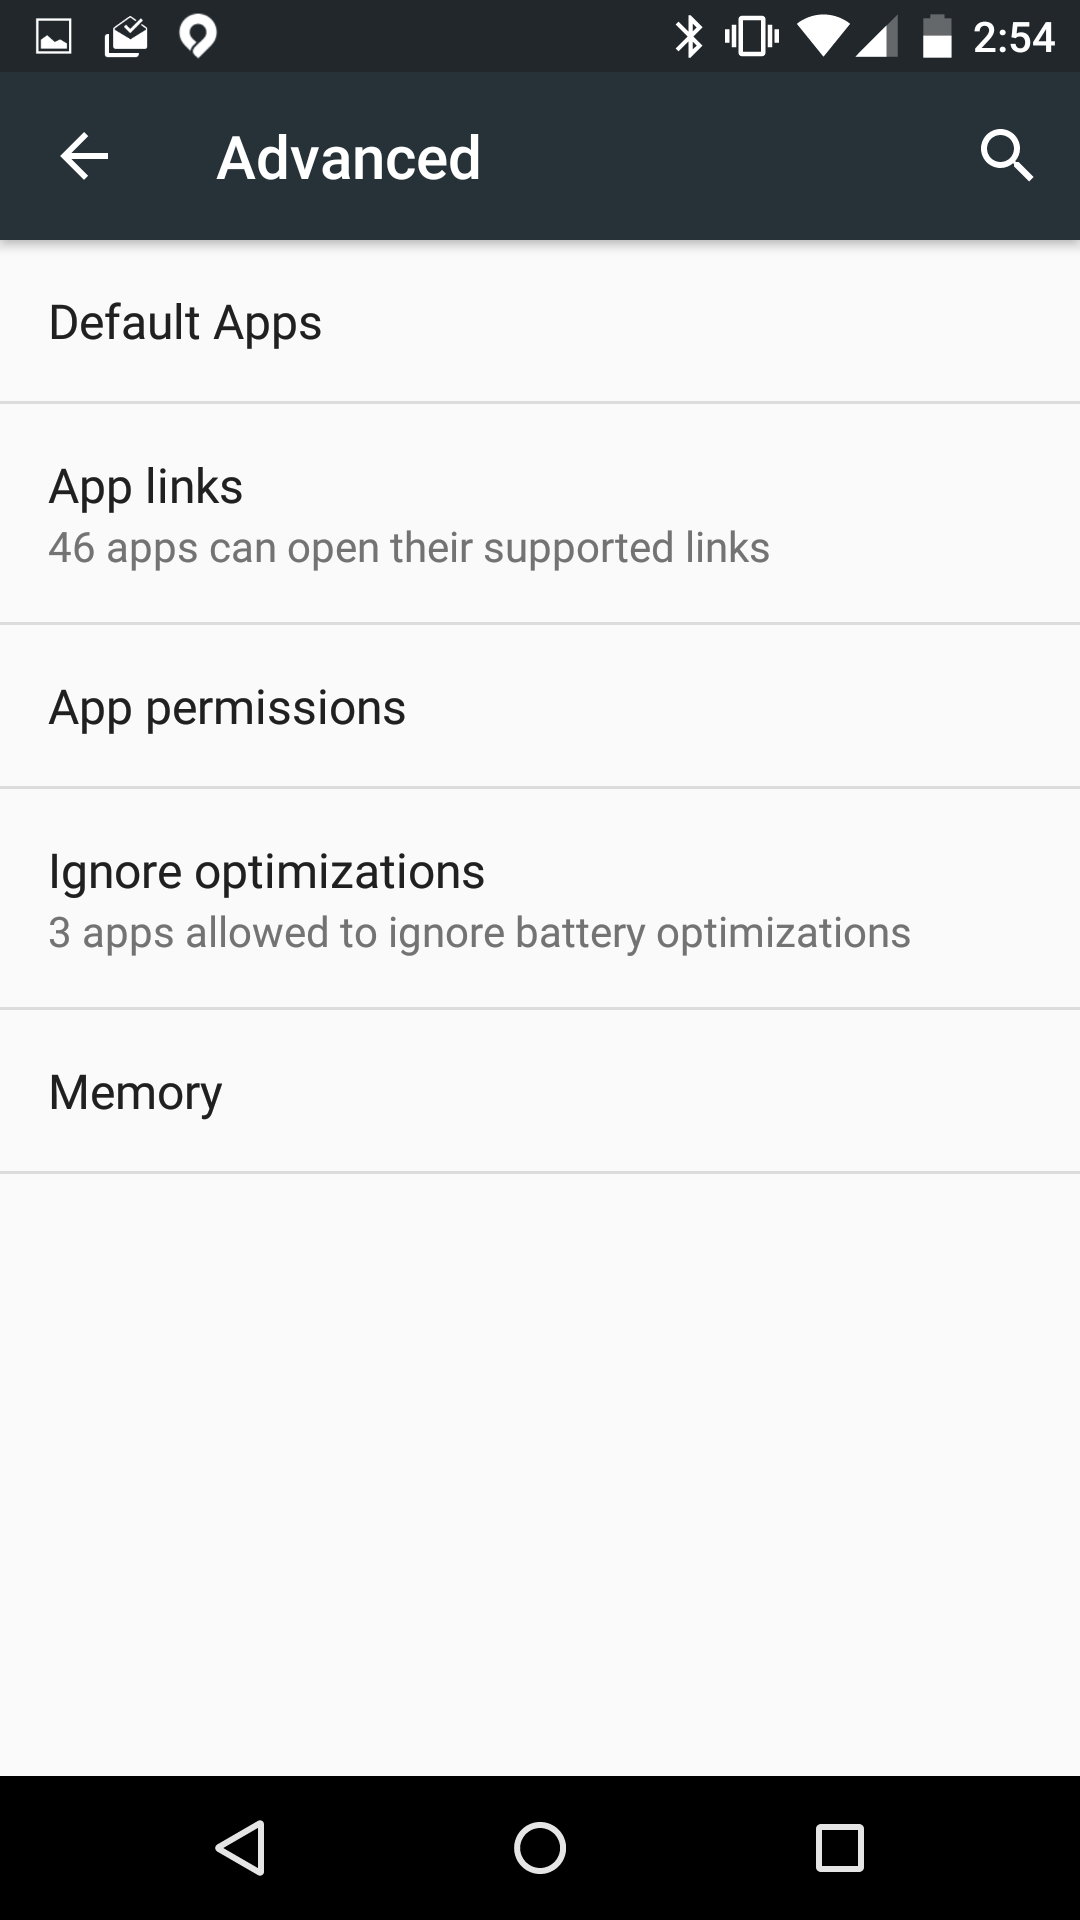
So those are all of the individual app info page options, but there are even more if you are looking at your list of apps and choose “Advanced” in the top-right menu. In the Advanced section, we now have system controls over app groups or links or permissions, along with a way to force apps out of being battery optimized by the system.
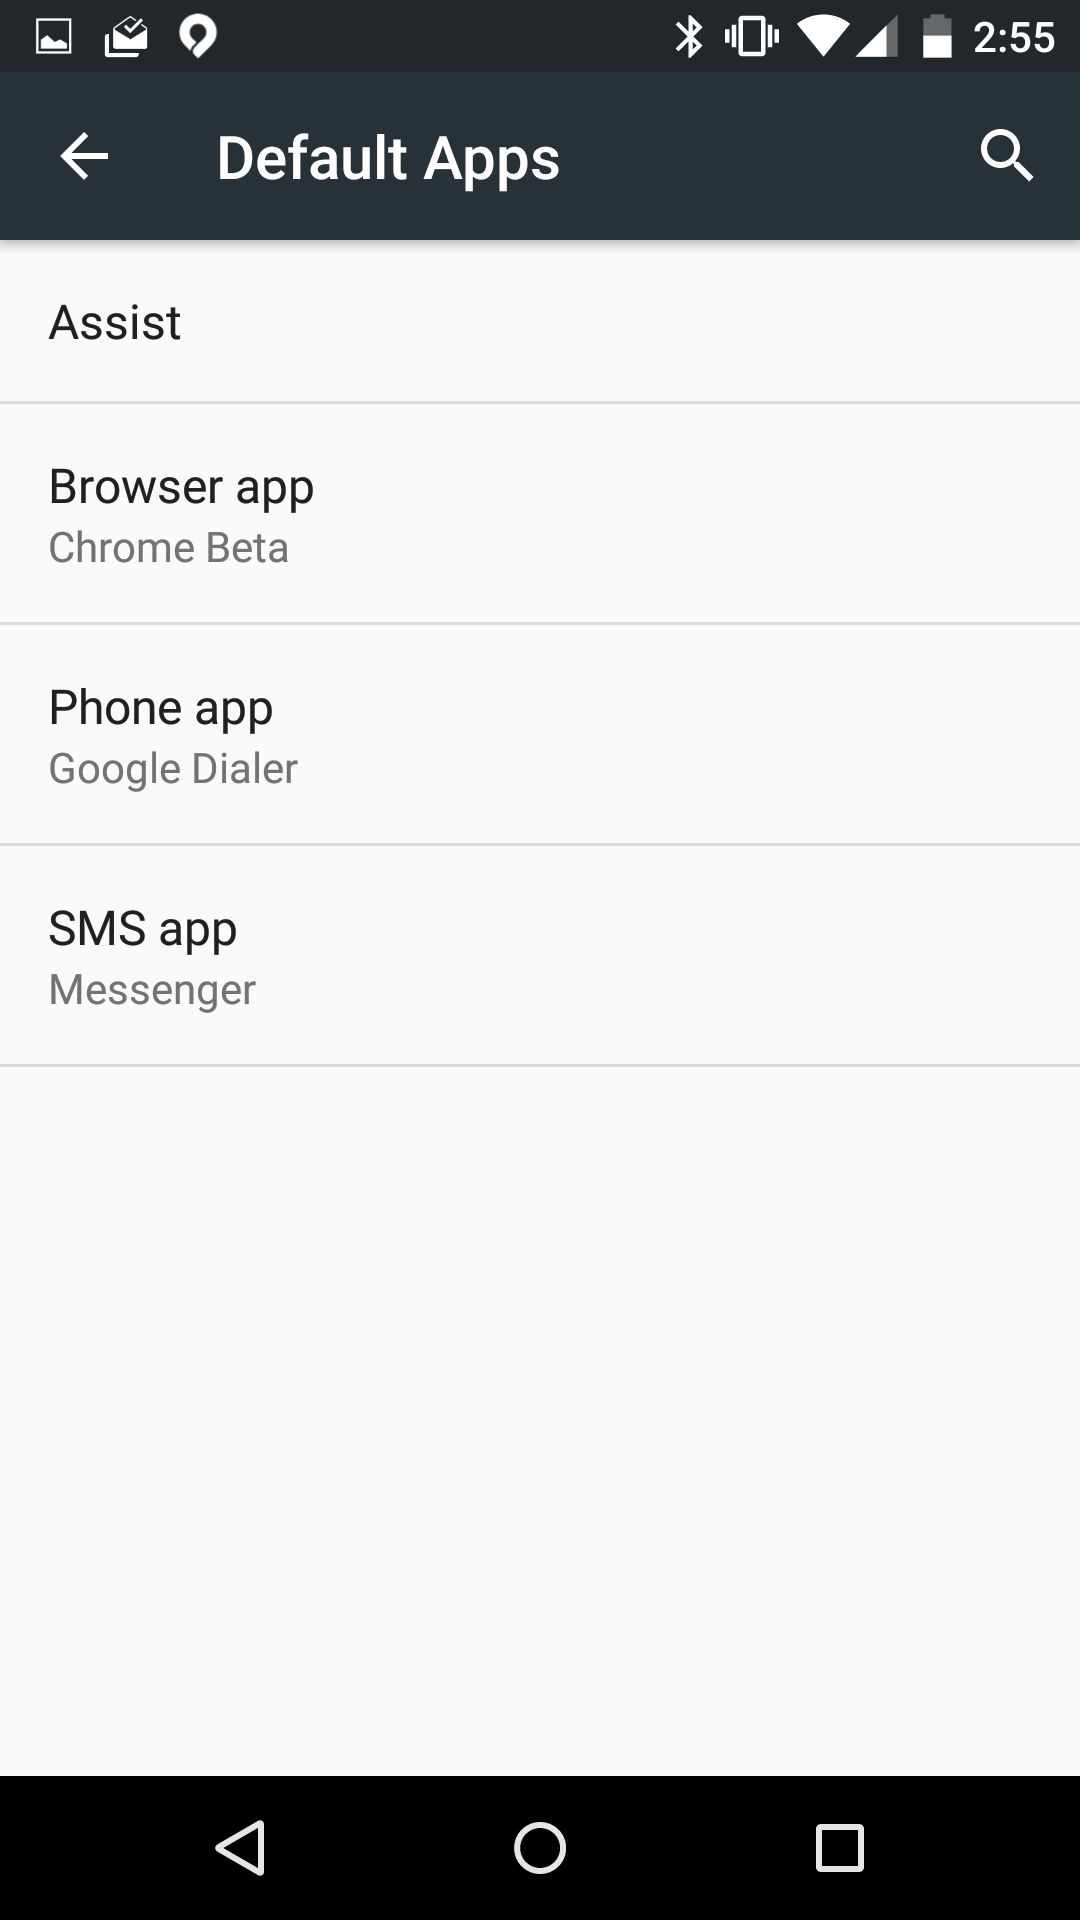
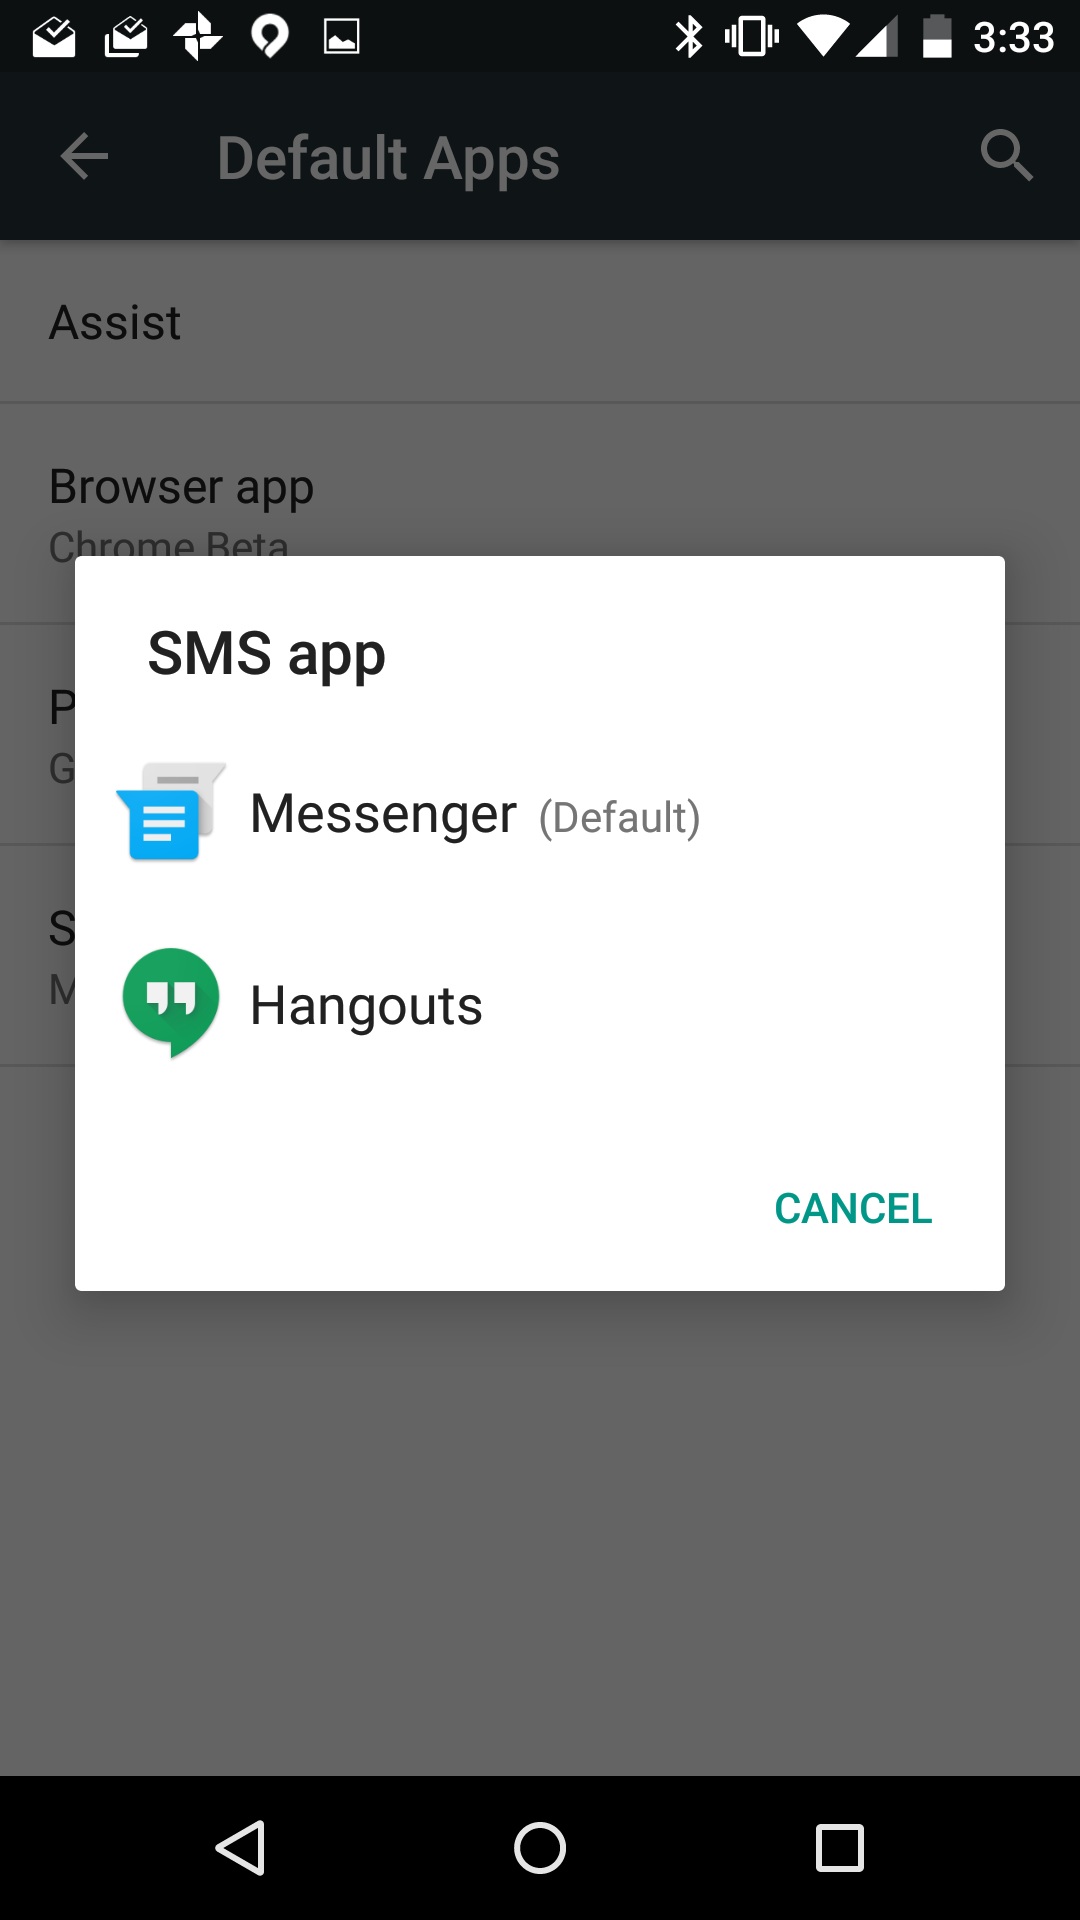

In the “Default Apps” section you will see a list of apps that have defined defaults. In the image above, there are listing for the browser, phone, and SMS app, along with the current default. If I want to change that, I can tap on one and the system will then show me other options that I may want to set as the new default.
If you want to control all of the default app links permissions per app on a single page, tapping on the “App links” section will get you there. As you can see in the image above (far-right), this shows me an entire list of apps and whether or not I have associated approved links with them. From there, a single tap gets me into their “Open by default” page to adjust anything I choose.

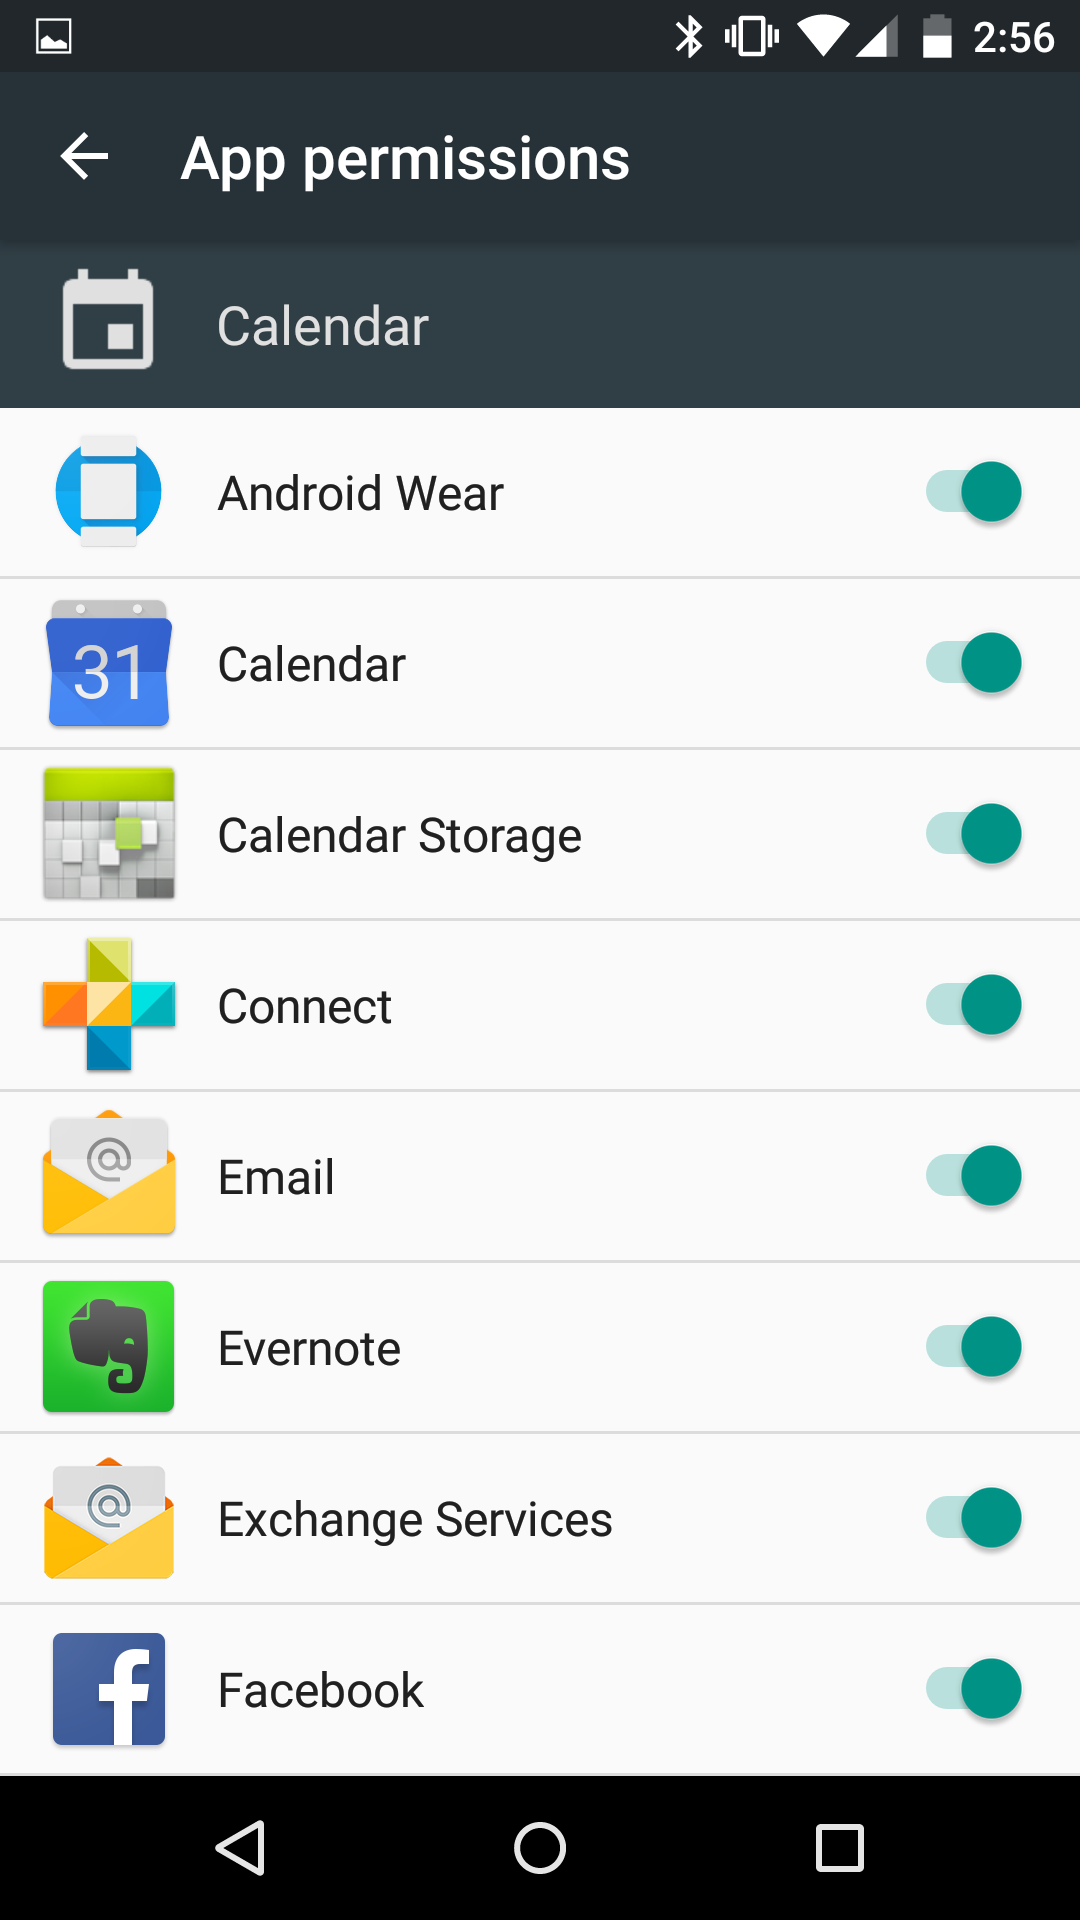
Now, we also have another way here to dive into mass-permissions control. By tapping on the “App permissions” section under Advanced, you have all of your high-level permissions laid out in front of you. With this, you can tap something like Calendar and then see every single app that has been given access to the Calendar permission. If you don’t want an app to have that access, you can start turning them off one by one. Pretty sweet, right?
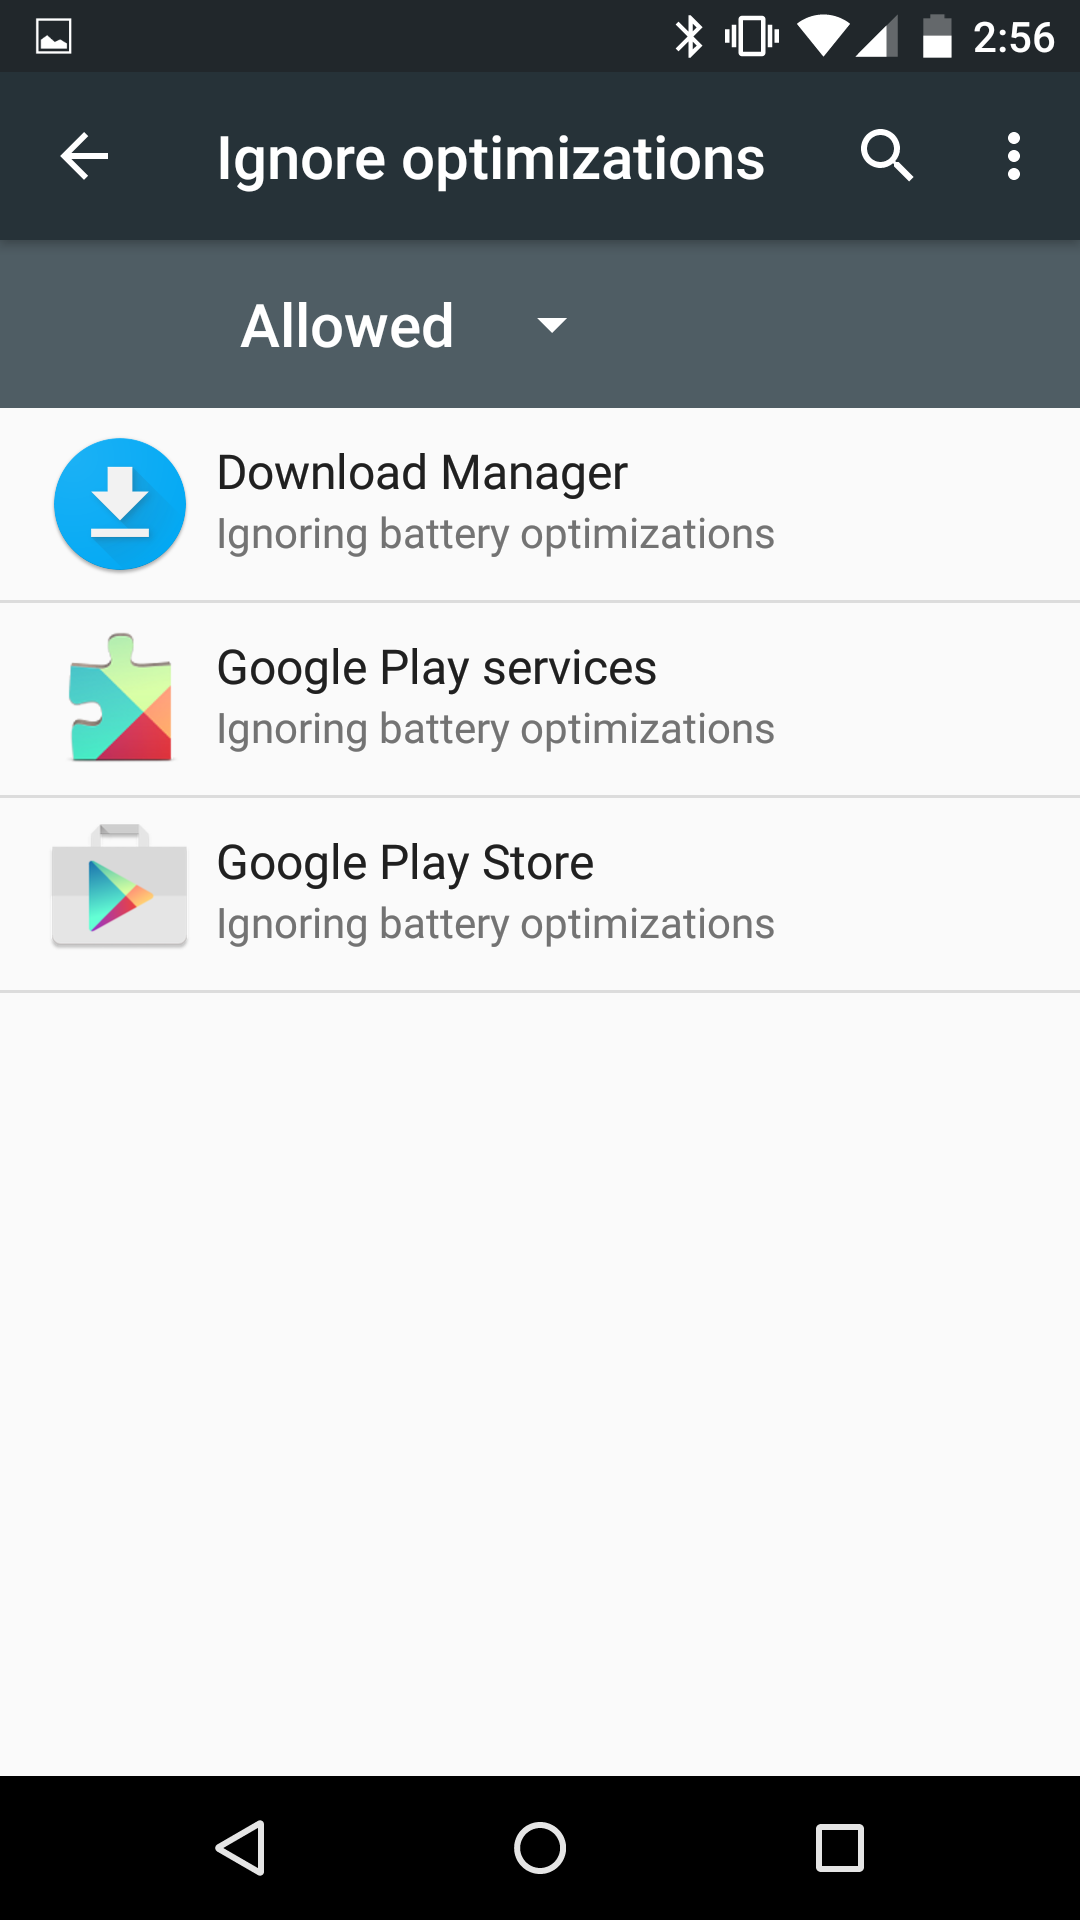
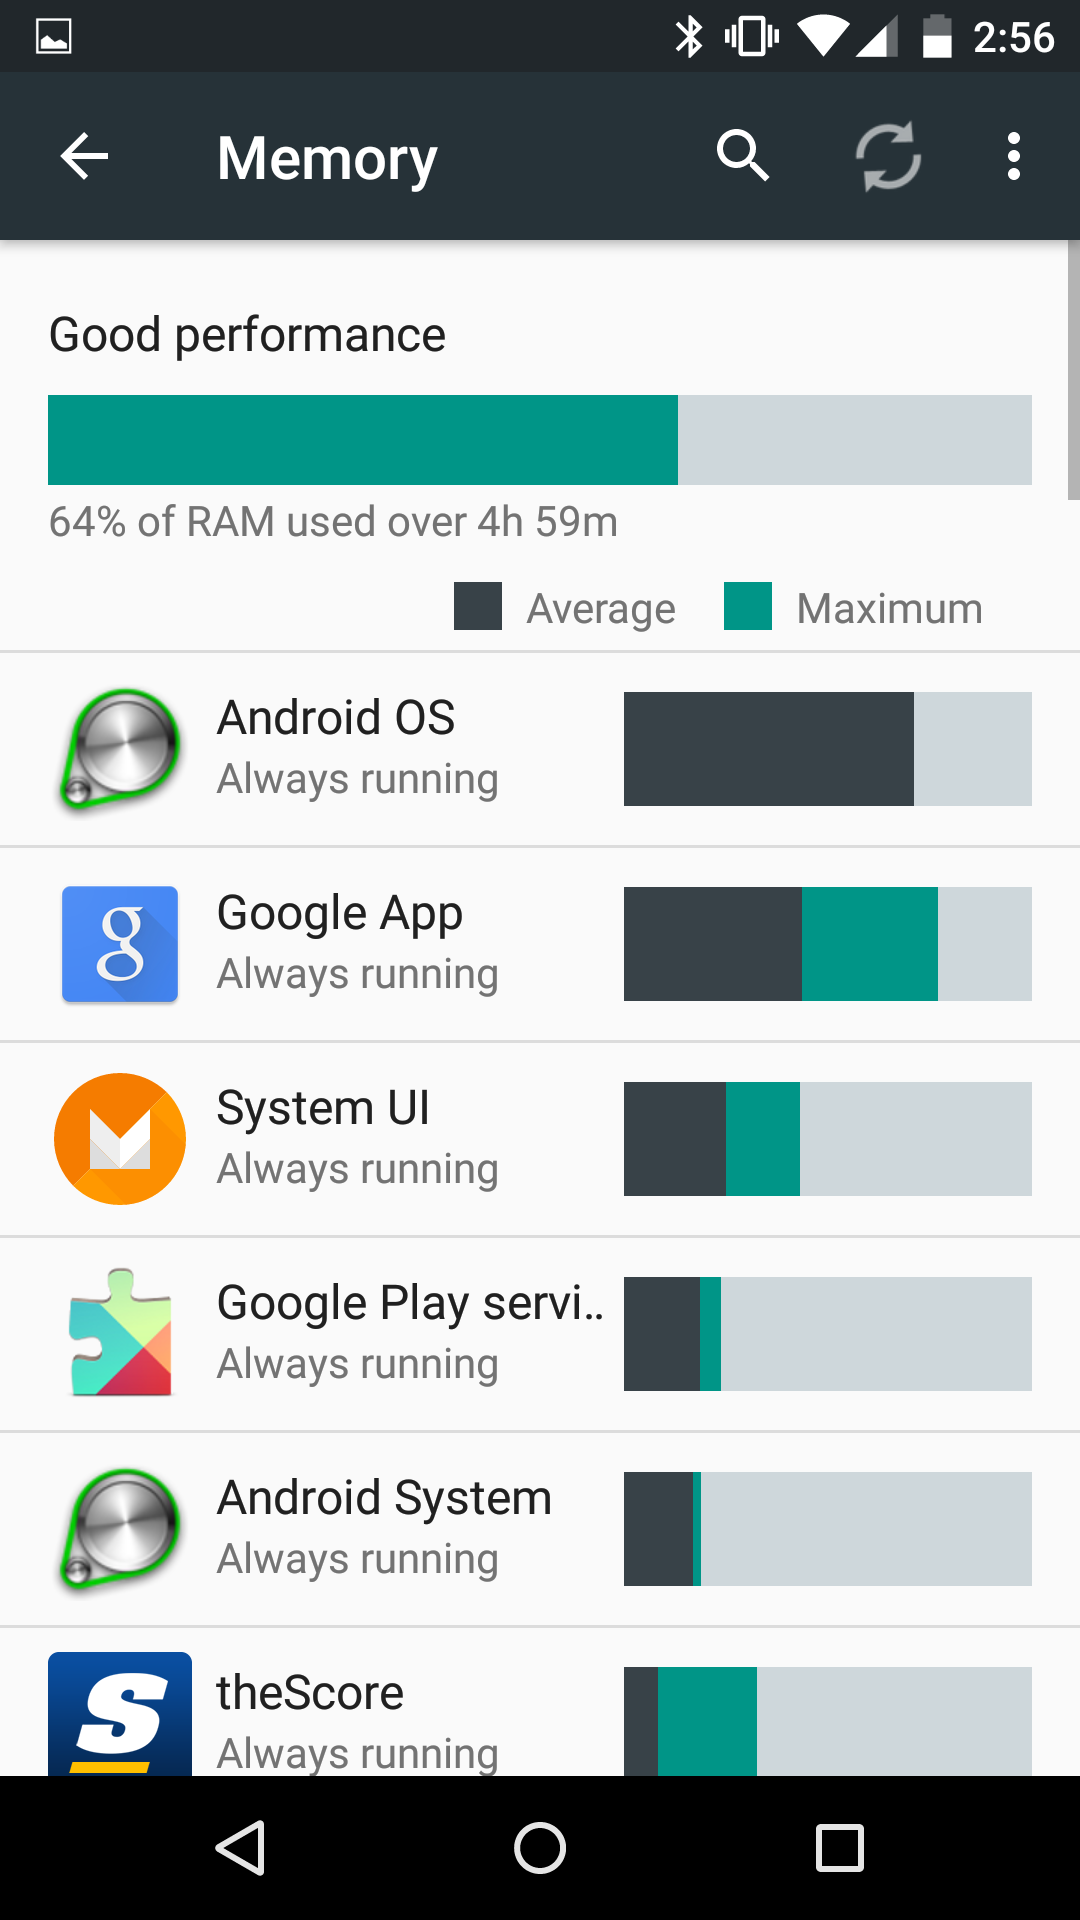
Finally, you have two more choices of “Ignore optimizations” and “Memory.” At this time, the Ignore optimizations section only allows you to tell apps to ignore the system battery optimizations, which could end up ruining your battery life. In the Memory section, you get to see which apps are running, how much RAM is being used, etc.
As a geek on any level, this type of control in the Apps manager has to get you excited.
Be sure to checkout all of our Android M feature highlights!