
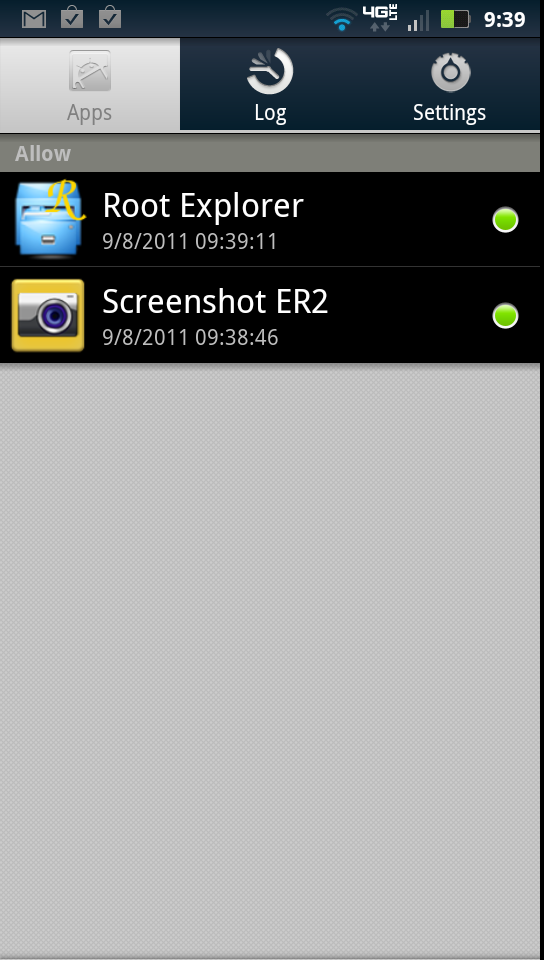
We knew from last week that the current Motorola Gingerbread rooting method would work on the Bionic, but just in case you needed some extra proof, we have it for you along with instructions. It took me all of 3 minutes and my device was rooted and feeling much happier about life. And no, this has nothing to do with the bootloader – we are still hoping for a miracle or magical break-through on that front.
Download: MotorolaOneClickRoot.zip
Instructions:
1. Make sure you have Motorola drivers installed – [Download Drivers]
2. Download the MotorolaOneClickRoot.zip file from above and unzip it to your Windows PC.
3. On your phone go into Settings>Applications>Development and check the box for USB Debugging.
4. Plug phone into your computer and select “Charge Only” mode.
5. Navigate to MotorolaOneClickRoot folder and run MotorolaOneClickRoot.exe.
6. Follow the instructions in the command window.
7. Your phone will complete 3 steps, rebooting along the way. When it finishes, you will be rooted.
*Note – Our buddy @P3Droid is under the impression that a fix to this rooting method is on the way in the near future for both the D3 and Bionic. If you want to be rooted going forward, you may want to do this now and then deny any OTA updates that may pop up in the next week or so.
Have fun!
Full support can be found at this RootzWiki thread.
Cheers again to @djrbliss for the exploit and to psouza4 and Framework43 for putting this together!
Collapse Show Comments200 Comments